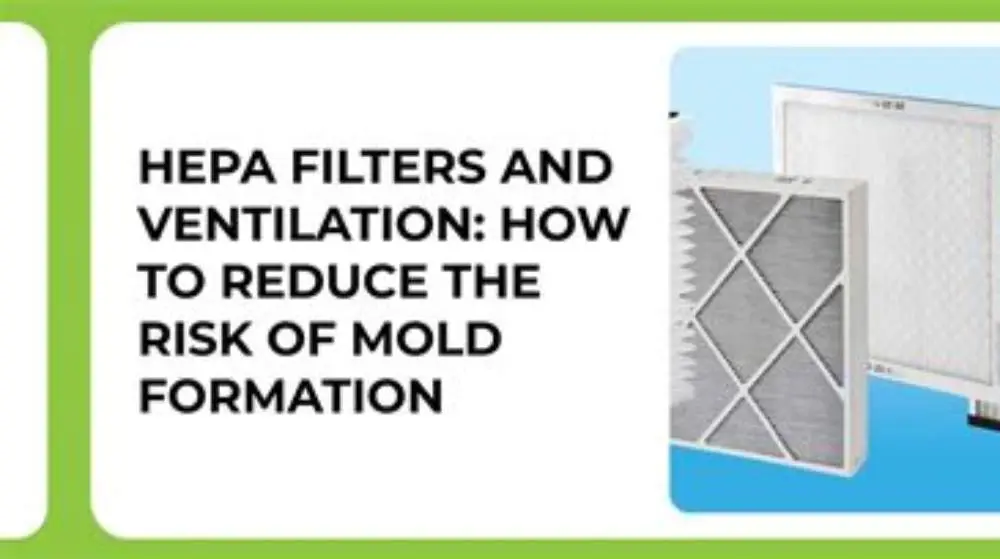
HEPA filters (H13/H14) improve mould spore removal best in extract ducts but can restrict airflow if not sized properly. Use F7 filters for general protection, switch to HEPA for confirmed mould, then isolate, seal, clean and retest airflow and pressure drop to maintain system balance.
On this page
- Quick recap
- When F7/MVHR filter suffices vs true HEPA H13/H14 for mould spores
- Where HEPA fits in MVHR/MEV (supply vs extract) without starving airflow
- Step order: isolate ventilation, protect with HEPA, clean ducts and unit, replace filters
- How to clean without recirculating spores - sealing, negative pressure and disposal
- Airflow and pressure-drop check after HEPA fit and change interval
- Retest for regrowth and damp cause - what to fix if mould returns
- Quick questions
Part of our guide on maintaining indoor air quality
Quick facts
- HEPA filter classes
- H13/H14
- F7 filter efficiency
- up to 80%-90%
- HEPA efficiency
- 99.95%-99.995%
- Airflow reduction
- up to 30% with HEPA
- Pressure drop limit
- below 200 Pa
Quick recap
- Use F7 filters for routine mould prevention, HEPA for active mould spores.
- Fit HEPA on extract side to avoid airflow loss in supply.
- Isolate and seal ventilation before cleaning to prevent spore spread.
- Check airflow and pressure drop after filter change to avoid starving.
- Retest ducts after cleaning; fix damp causes to stop mould return.
When F7/MVHR filter suffices vs true HEPA H13/H14 for mould spores
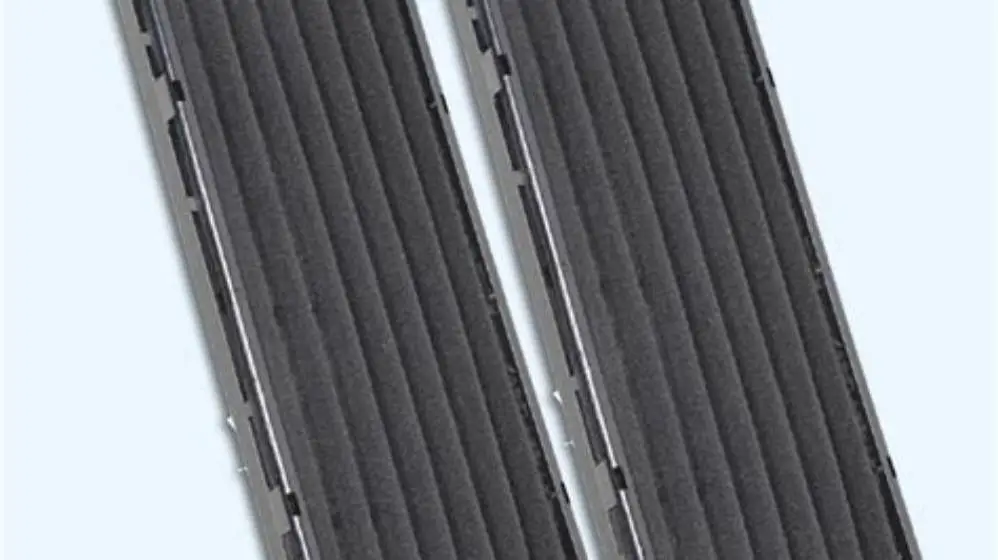
Use F7 filters rated to capture 80-90% of particles down to 1 micron for routine MVHR mould protection. They handle most spores and dust, keeping air clean without excessive resistance.
Switch to true HEPA filters (H13 or H14), which capture 99.95% or more of particles down to 0.3 microns, when mould spores are confirmed in ducts. HEPA cleans better but adds airflow resistance.
The trade-off: F7 lets more air flow, reducing energy use and noise but captures fewer spores. HEPA cuts spores almost completely but can starve your MVHR fan if the system isn’t designed or adjusted for it.
| Filter Type | Particle Capture | Typical Airflow Impact |
|---|---|---|
| F7 | 80-90% ≥ 1 µm | Low (minimal pressure drop) |
| HEPA H13/H14 | 99.95%-99.995% ≥ 0.3 µm | High (up to 30% airflow reduction) |
Where HEPA fits in MVHR/MEV (supply vs extract) without starving airflow
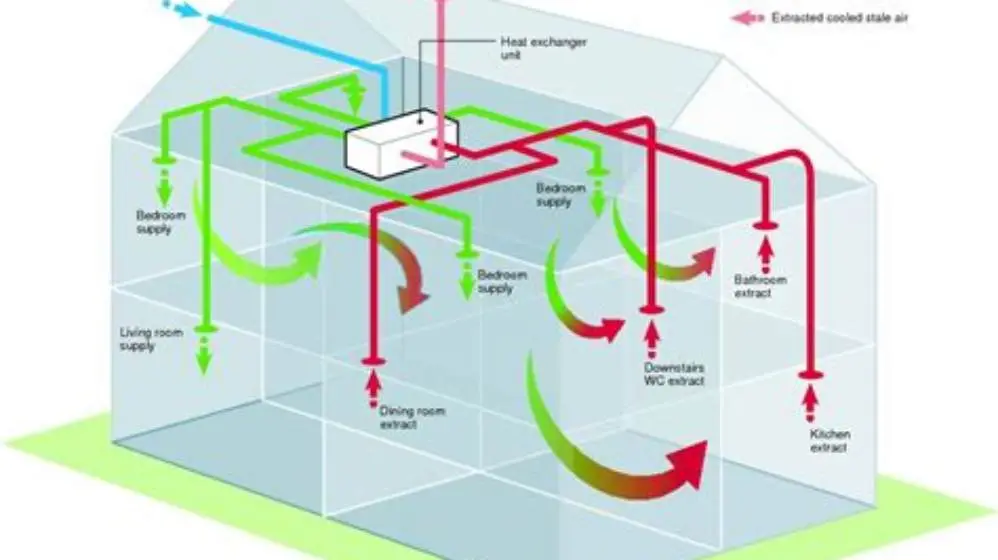
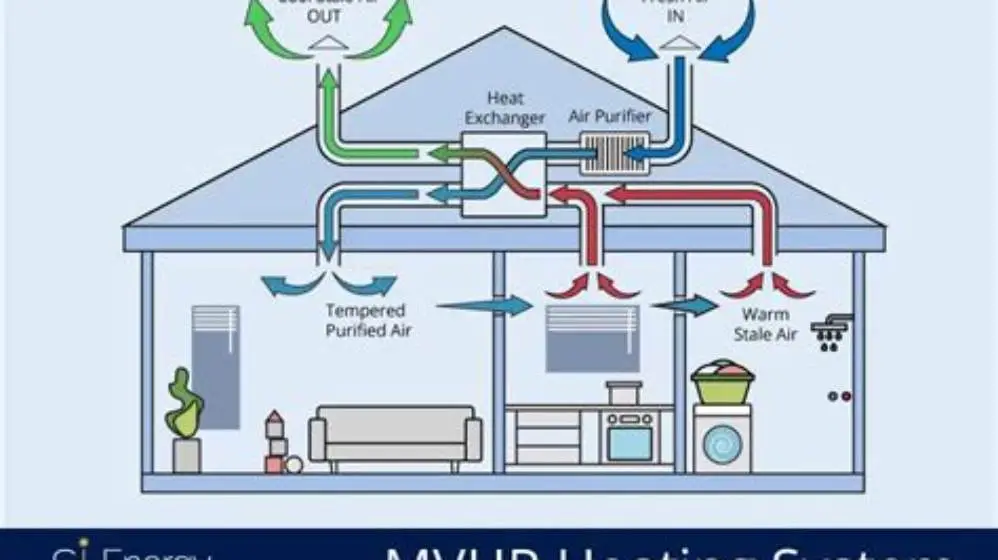
Fit HEPA filters downstream on the extract duct. Extract side air is leaving the home, so adding resistance won’t starve supply airflow needed for comfort. For the detail, see our notes on what are MVHR filters.
Avoid fitting HEPA on the supply side, where it can reduce fresh air delivery by up to 30%, harming ventilation effectiveness and comfort.
For balanced systems, keep the supply side at F7 or better but not full HEPA. Only fit HEPA on extract ducts where spores or mould are present or suspected.
Check manufacturer specs for maximum pressure drops your MVHR unit fan tolerates, usually under 200 Pa total, including filters and ducts. Before you commit to anything, it is worth looking at condensation and black mould on walls how to stop it.
Step order: isolate ventilation, protect with HEPA, clean ducts and unit, replace filters
First, isolate the ventilation system: switch off MVHR and seal vents to stop spore spread during cleaning.
Fit HEPA filters at the extract port before cleaning to trap spores loosened during duct and unit cleaning.
Clean ducts and the MVHR unit thoroughly using vacuum and wipe methods, working from the extract side back towards the unit. It helps to understand cost ranges for filters before going further.
Dispose of cleaning waste in sealed bags to prevent spores from escaping.
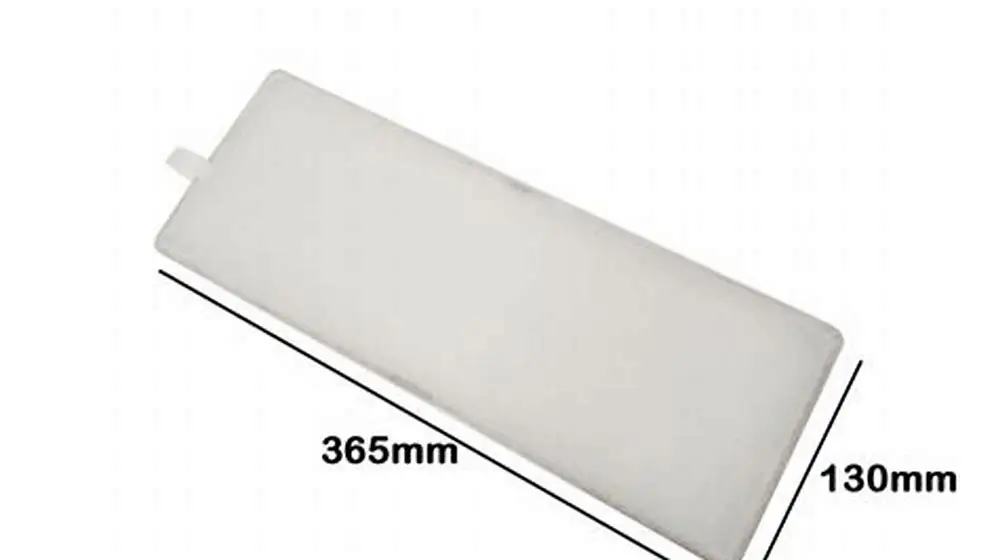
Replace HEPA with new filters or revert to F7 filters once cleaning is complete and spores are under control.
Before starting duct cleaning, check if you can isolate sections of the ventilation to limit spore spread further. If possible, close dampers to affected ducts and seal joints with duct tape. This step minimizes contamination beyond the cleaning zone and makes HEPA filtration more effective. It helps to understand step-by-step mvhr setup before going further.
When fitting HEPA filters before cleaning, ensure you use sealed housings or filter frames to prevent unfiltered air bypass. Improper sealing lets spores escape and reduces the filter's protection. Confirm seal integrity with smoke testing or visual inspection before proceeding.
- Turn off and isolate the MVHR system.
- Install HEPA filters on extract duct ends.
- Clean ducts and MVHR unit with sealed vacuum and wipes.
- Seal and safely dispose of cleaning waste.
- Replace filters with fresh HEPA or F7 units.
- Turn system back on and monitor airflow.
How to clean without recirculating spores - sealing, negative pressure and disposal
Seal all vents and duct access points to prevent spores from escaping into living spaces during cleaning.
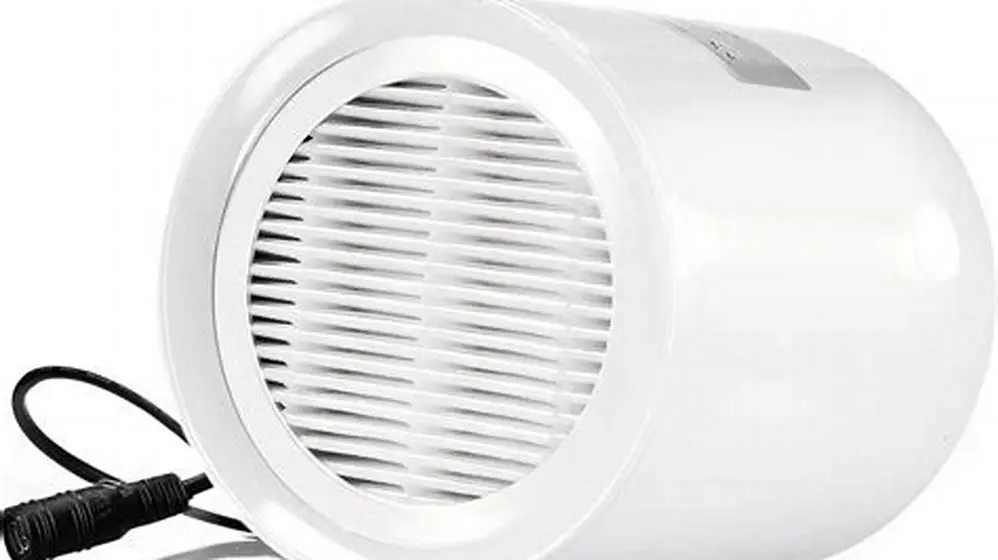
Use a vacuum with HEPA filtration and create negative pressure inside the duct to contain spores. We cover 100mm inline extractor fan filters in its own article.
Apply wipes or antimicrobial cleaners in the ducts and unit carefully to remove mould residues.
Collect all waste in airtight bags and dispose of them safely to avoid recontamination.
Wear personal protection equipment (PPE) such as masks and gloves to prevent inhaling spores.
- Seal vents: use duct tape or covers.
- Negative pressure: vacuum with HEPA filter attached.
- Waste disposal: double bag and seal mouldy debris.
- PPE: respirators rated for mould spores, gloves.
Airflow and pressure-drop check after HEPA fit and change interval
Measure airflow after fitting HEPA filters using a flow hood or anemometer at vents; expect possible 15-30% drop compared to F7 filters.
Check static pressure across the filter with a manometer; keep below 200 Pa to avoid MVHR fan strain.
Replace HEPA filters regularly, typically every 6-12 months, or sooner if pressure drop exceeds limits or visible loading occurs.
Retesting airflow and pressure drop after every filter change or cleaning keeps the system balanced and efficient.
If you notice airflow drops greater than 30% after installing HEPA filters, verify if the filter is the correct size and model for your MVHR unit. Oversized resistance causes fan overload and poor ventilation. Consult manufacturer guidelines or a ventilation specialist to select the right HEPA filter.
Track the pressure drop across HEPA filters over time to predict when replacement is due. For example, if the initial pressure drop is 120 Pa and it rises by 10 Pa per month, plan replacement before it hits 200 Pa. This proactive approach avoids sudden airflow loss and maintains indoor air quality.
Retest for regrowth and damp cause - what to fix if mould returns
After cleaning and filter replacement, retest ducts visually and with moisture meters to detect mould regrowth risks.
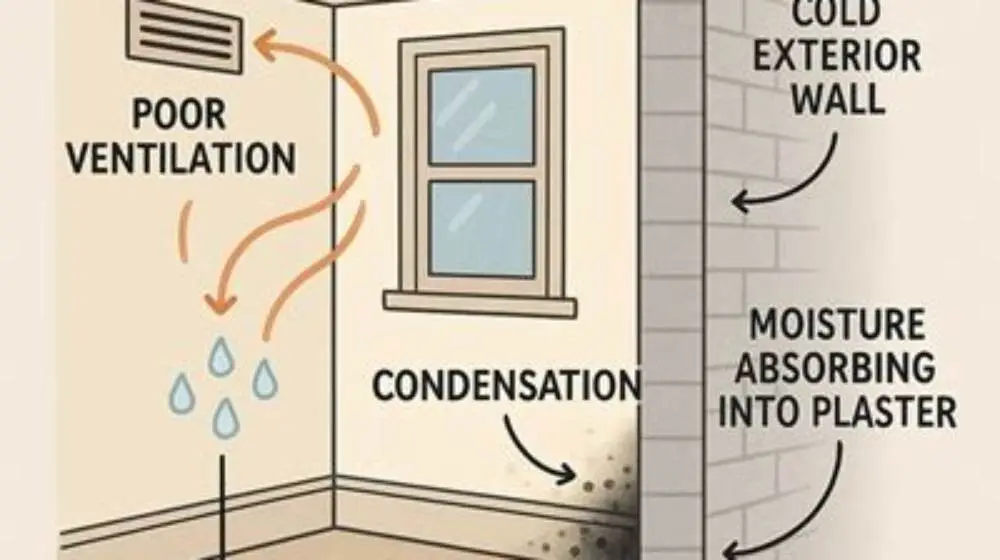
Address any damp sources causing mould: poor insulation, condensation, leaks, or blocked vents.
Improve ventilation rates or consider whole-house damp control measures if mould comes back.
Regular inspections and maintenance prevent costly remediation and unhealthy indoor air.
- Visual check: black spots or musty odours.
- Moisture measurement: below 60% relative humidity is ideal.
- Fix insulation gaps and leaks promptly.
- Maintain ventilation effectiveness with clean filters.
Quick questions
Can I use a HEPA filter on both supply and extract sides?
Using HEPA filters on both sides often starves airflow, reducing ventilation effectiveness. Fit HEPA only on the extract side to trap spores without limiting fresh air supply.
How often should HEPA filters be replaced in mould remediation?
Replace HEPA filters every 6-12 months or sooner if airflow pressure drop exceeds 200 Pa, indicating clogging. Frequent replacement ensures continued mould spore capture and system efficiency.
Can I just clean ducts without HEPA protection?
Cleaning without HEPA protection risks releasing mould spores into your home air. Always fit HEPA filters before cleaning to trap spores and protect occupants.
What causes mould to return after remediation?
Mould returns if underlying damp causes like leaks, poor insulation or low ventilation remain. Fix these issues to prevent regrowth after cleaning.
Is an airflow and pressure test necessary after filter change?
Yes. Testing confirms the system isn’t overloaded by HEPA filters and maintains correct ventilation rates for comfort and health.