Plan a staged retrofit installing a heat recovery extract fan in your bathroom with detailed sizing, duct routing, and commissioning steps.
A retrofit plan for a heat recovery extract fan in a bathroom only involves sizing the fan for typical 15-30 L/s airflow, routing compact ductwork to an outside wall or roof, expecting a 20-40% heat recovery fraction depending on unit efficiency, and staging installation to minimize bathroom disruption.
On this page
- The short version
- Prepare existing bathroom for heat recovery fan retrofit
- Criteria for choosing the right extract-only heat recovery fan
- Ducting and electrical work sequence specific to bathroom installation
- Expected heat recovery fraction and performance after installation
- Testing and commissioning the retrofit system
- Common issues and troubleshooting during bathroom-only retrofit
- Questions people still ask
Part of our guide on cost-effective retrofit strategies
A step-by-step retrofit plan helps you install a bathroom-only heat recovery extract fan with the right size, duct route, and testing to save energy without major disruption.
| Typical airflow | 15-30 L/s |
|---|---|
| Heat recovery fraction | 20-40% |
| Duct length | 2-4 m typical |
| Installation time | 4-8 hours |
| Fan power use | 5-10 W typical |
The short version
- Select extract-only heat recovery fans rated 15-30 L/s for typical bathroom sizes.
- Route ductwork with minimal bends directly to exterior to maintain airflow.
- Expect 20-40% heat recovery fraction depending on fan and installation quality.
- Prepare bathroom by removing old fan and sealing gaps to optimize performance.
- Test airflow and heat recovery after installation to verify system performance.
Prepare existing bathroom for heat recovery fan retrofit
Preparing the bathroom starts by removing the existing exhaust fan and inspecting the ceiling or wall space for duct routing possibilities. You need a clean, dry cavity with at least 100 mm clearance for duct and fan placement. The bathroom must be sealed well around windows and doors to ensure the extract fan performs efficiently.
Check for any moisture damage or insulation gaps before installing the new fan. A well-sealed and insulated ceiling space reduces heat loss and improves the heat recovery fraction. You will also want to check the electrical supply at this stage, as heat recovery fans often require a switched live feed and a permanent live for the fan motor.
Consider the location of the external wall or roof where the duct will terminate. This affects duct length and routing complexity, impacting both installation disturbance and efficiency. Planning ahead minimizes invasive work during the retrofit.
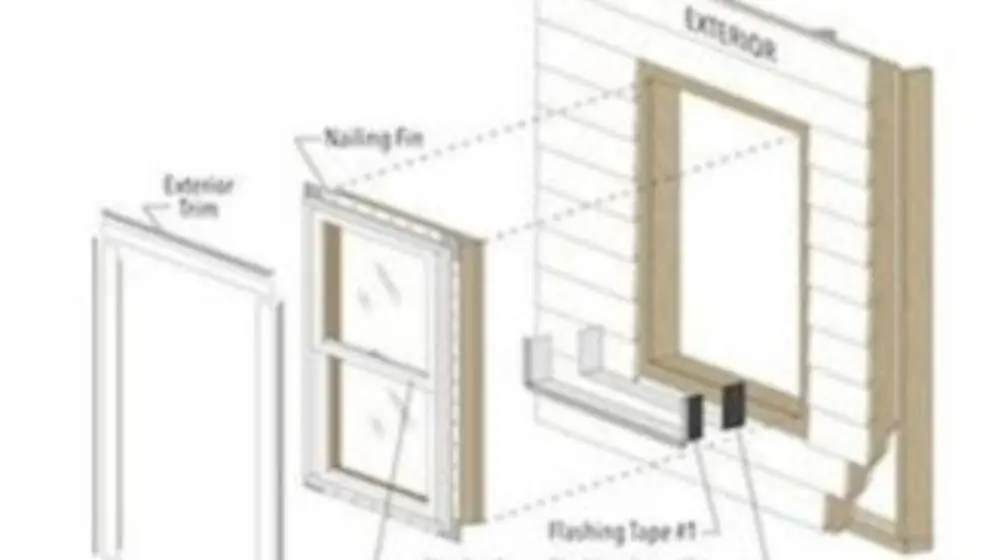
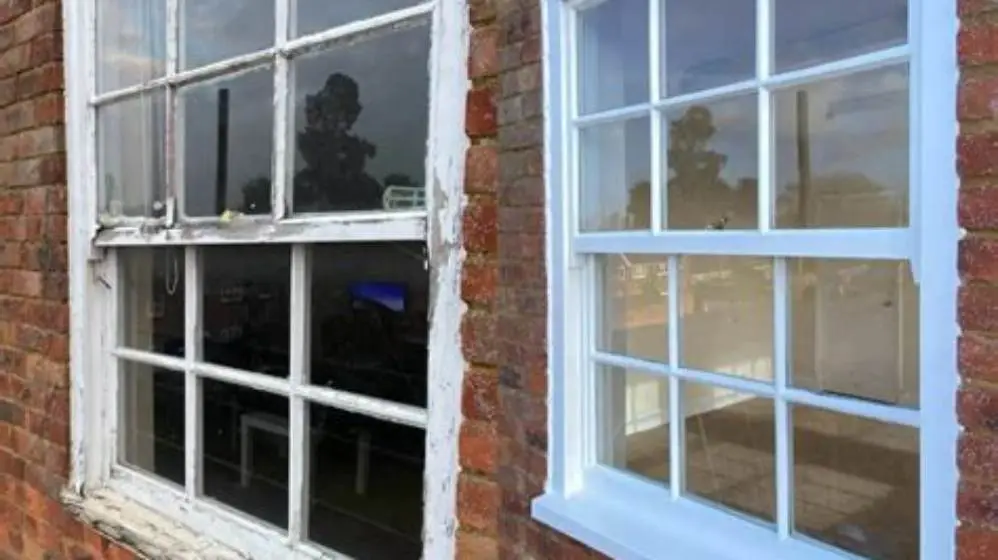
When preparing the bathroom, also consider the fan placement height and orientation relative to moisture sources like showers or bathtubs. Installing the fan closer to the shower exit maximizes moisture capture but may require waterproofing considerations around the unit. Ensure the fan's grille is positioned to avoid direct water spray to prevent damage and maintain longevity. It helps to understand how to install retrofit windows before going further.
If the bathroom has a window, evaluate whether it remains operable post-retrofit to provide natural ventilation backup. In some cases, sealing the window or installing a secondary vent may be necessary to optimize heat recovery effectiveness by reducing uncontrolled air leaks. This balance impacts both indoor air quality and energy savings.
Criteria for choosing the right extract-only heat recovery fan
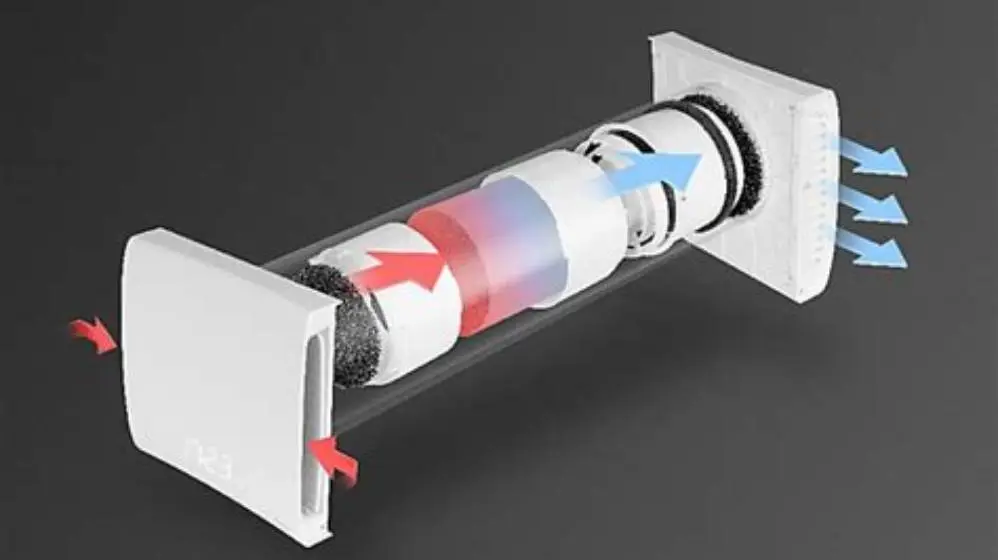
For bathroom-only retrofit, select an extract-only heat recovery fan rated for 15-30 L/s airflow, suitable for typical bathroom volumes. Fans with integral heat exchangers usually recover 20-40% of the heat from extracted air, depending on the model and installation quality.
Noise level is critical: look for fans with sound ratings under 30 dB(A) at typical operating speeds to avoid disturbance. Power consumption should be in the 5-10 W range to balance energy use against savings from recovered heat. There is more on bathroom fan not removing steam after shower in a separate guide.
Choose fans certified for continuous operation with integrated humidity sensors or timers to avoid over-ventilation. Also, confirm compatibility with your electrical supply and ducting size (typically 100-125 mm diameter).
Another important criterion is the fan's heat exchanger type: counterflow plate or rotary. Counterflow plate exchangers commonly achieve around 30-40% heat recovery efficiency, while rotary exchangers can reach up to 50% but require more maintenance and may be less common in small bathroom extract-only fans.
Fan speed control options influence performance and energy usage. Models offering variable speed allow adjustment between 15 and 30 L/s to match occupant needs and reduce noise when full extraction is unnecessary. For example, reducing airflow from 30 L/s to 20 L/s can cut power consumption by nearly 40%, improving net energy savings. There is more on uk whole house retrofit order in a separate guide.
Confirm the fan's IP (Ingress Protection) rating suits bathroom environments with high humidity; an IP44 rating or higher is recommended to resist moisture ingress and extend device life.
| Feature | Low capacity fan | Medium capacity fan |
|---|---|---|
| Airflow (L/s) | 15-20 | 25-30 |
| Heat recovery (%) | 20-30 | 30-40 |
| Noise dB(A) | 25-28 | 28-32 |
| Power (W) | 5-7 | 7-10 |
- Compact size fits small bathrooms
- Lower power reduces running costs
- Simple integration with existing duct
- Lower airflow may limit moisture removal
- Heat recovery fraction varies widely
- Some models need specific duct sizes
Ducting and electrical work sequence specific to bathroom installation
Begin ducting by installing insulated, rigid ducts with minimal bends, ideally 2-4 metres in length, running from the fan location to an outside wall or roof vent. Use smooth interior ducts to reduce resistance and preserve airflow.
Seal all duct joints with mastic or foil tape to prevent air leaks, which reduce heat recovery efficiency and increase noise. Avoid flexible ducts as they have higher air resistance and trap dust. For the detail, see our notes on retrofitting renewable energy into a building.
Electrical work must ensure a fused spur or switched live supplies the fan, with wiring done to current regulations, including appropriate RCD protection. If the existing wiring is insufficient, upgrade is needed before fan installation.
Staging is critical: first complete duct runs and electrical cabling, then mount the fan unit, and finally connect and test the system. This sequence reduces rework and installation disruption.
In bathrooms with limited ceiling space, consider installing the fan in a wall cavity and routing ducts horizontally. This may impact duct length and bends, so compensate with higher fan pressure capability to maintain airflow. For instance, a 5-m duct with three 90° bends can reduce airflow by up to 25% if not properly sized or sealed. Before you commit to anything, it is worth looking at testing for condensation in walls.
Before finalizing electrical connections, confirm the fan’s compatibility with existing bathroom lighting circuits if planning combined control. Some models require independent switched live feeds to operate heat recovery optimally, so wiring upgrades may be necessary.
When sealing duct joints, inspect for potential condensation points along the duct path. Adding a vapour barrier around insulated ducts can prevent moisture migration into building structures, which is crucial in retrofit scenarios where building fabric integrity might be compromised.
- Plan duct route minimizing bends and length
- Install insulated rigid ducting from bathroom to outside
- Seal duct joints to prevent leakage
- Run electrical supply complying with regs
- Mount fan unit and connect wiring
- Test airflow and electrical safety
Expected heat recovery fraction and performance after installation
Heat recovery fraction for extract-only bathroom fans typically ranges from 20% to 40%, influenced by unit efficiency, duct length, and airtightness. Longer ducts or poor sealing reduce recovered heat substantially. It helps to understand risks of rot to timber sash windows before going further.
A properly installed system running at 15-30 L/s airflow can maintain humidity levels below 60% RH, preventing mold while recovering meaningful heat. Expect power consumption of around 5-10 W, saving more energy than the fan uses by retaining warm air heat.
Measure performance by checking airflow with an anemometer and temperature difference across the heat exchanger. A minimum temperature rise of 2-5°C in the incoming air stream indicates effective heat transfer.
If heat recovery is below expected, inspect for duct leaks, incorrect fan speed, or insufficient sealing.
Heat recovery fraction is also affected by bathroom usage patterns. Intermittent high-extraction events like showers cause brief spikes in moisture and airflow demand, temporarily reducing heat recovery efficiency. In contrast, continuous low-level extraction maintains steadier temperature gradients and better recovery fractions.
For example, a fan running at 25 L/s with 35% heat recovery can reclaim about 50 watts of thermal energy during operation. Over a 2-hour shower event, this equates to roughly 360 Wh of heat saved, offsetting the fan’s electrical consumption of approximately 15 Wh during that time.
Calculating the payback period for retrofit investment depends on local energy costs and usage frequency. In milder climates, the energy savings may be modest, but improved indoor air quality and moisture control offer additional non-energy benefits.
Testing and commissioning the retrofit system
After installation, test the system by running the fan continuously to stabilize airflow and heat recovery. Use an anemometer to confirm airflow matches the fan's rated 15-30 L/s under installation conditions.
Check electrical safety with a multimeter and ensure no voltage drop or wiring faults exist. Verify noise levels at ear height in the bathroom do not exceed 30 dB(A) to prevent occupant discomfort.
Commission by setting humidity sensors or timers to maintain ventilation only when needed, optimizing energy savings. Document initial readings of airflow, noise, and power draw for future comparison.
If any parameter falls short, troubleshoot duct blockages, wiring errors, or fan defects before closing ceilings or walls.
During commissioning, also verify the humidity sensor calibration by comparing its readings against a reliable hygrometer. Accurate humidity detection ensures the fan activates appropriately, preventing unnecessary energy use or insufficient ventilation.
Test the fan’s timer functions by setting different delay times and observing shutdown behavior after moisture events. This confirms user comfort and system responsiveness.
Documenting noise measurements at several fan speeds and locations within the bathroom helps identify installation issues like reverberation or duct resonance, which can be mitigated by adjusting mounting methods or adding sound attenuators.
- Run fan and measure airflow with anemometer
- Check electrical safety and wiring
- Verify noise levels at typical bathroom locations
- Set humidistat or timer controls
- Record baseline performance data
Common issues and troubleshooting during bathroom-only retrofit
Frequent issues include reduced airflow caused by duct bends or crushed ducts, leading to poor heat recovery and high humidity. Inspect ducts for damage or blockage if airflow is low.
Electrical faults such as incorrect wiring or missing RCD protection can cause fan failure or safety hazards. Always verify electrical setup with a qualified electrician before powering the fan.
Noise complaints often stem from loose fittings or fan units mounted without vibration isolation. Use anti-vibration mounts and check fan housing tightness to reduce noise.
Condensation in ducting can occur if insulation is poor, risking mold growth and duct damage. Use insulated ducts and check for cold spots on the route.
If heat recovery is inconsistent, check seals around the fan unit and duct joints. Leaks allow unheated air into the duct, reducing efficiency significantly.
A common overlooked issue is improper balance between supply and extract airflows. If supply air is insufficient, negative pressure builds up, causing drafts or pulling unconditioned air from undesirable locations, reducing comfort and heat recovery effectiveness.
Electrical issues may include incompatible dimmer switches or smart home devices wired to the fan circuit, leading to erratic operation or damage. Isolating the fan control circuit ensures reliable function.
Condensation problems often stem from duct insulation gaps or thermal bridging at roof or wall penetrations. Infrared thermography can detect cold spots along duct runs, guiding targeted insulation fixes to prevent moisture accumulation and maintain heat recovery performance.
Installing a bathroom-only heat recovery extract fan is a cost-effective way to improve indoor air quality and save heating energy if done with careful planning and good duct sealing.
Questions people still ask
Can I install a heat recovery fan without rewiring?
Only if the existing wiring supplies the correct voltage, switched live, and has RCD protection. Usually, minor rewiring is needed to meet safety regulations and fan control requirements.
How long does the retrofit installation typically take?
Installation usually requires 4-8 hours depending on access, duct routing complexity, and existing electrical setup.
Will the heat recovery fan eliminate bathroom condensation completely?
No. It reduces humidity by extracting moist air and recovering heat, but adequate ventilation and moisture control are still necessary.
Is professional installation recommended?
Yes. Correct ducting and electrical work are critical to safety and performance, so a qualified installer or electrician is advised.
What noise level should I expect from a bathroom heat recovery fan?
Good quality fans should run below 30 dB(A) at typical operating speed to avoid disturbance.