A clear 3-step decision guide helps you match renewable retrofits to your building’s energy needs, saving money and cutting emissions.
Start by assessing your building’s energy use and fabric efficiency; then consider solar PV, heat pumps, or solar thermal based on roof space, insulation, and heating system; finally, match cost and disruption tolerance to select the retrofit.
On this page
- The short version
- How to assess your building energy profile for retrofit
- Key renewable energy retrofit types and their fit scenarios
- Stepwise decision criteria for matching retrofit to building
- Planning a staged retrofit to balance cost, disruption, and savings
- Which renewable retrofit fits your building: balancing factors step-by-step
- Next steps after choosing your renewable retrofit
- Questions people still ask
Part of our guide on how to retrofit a house
| Typical solar PV output | 750-1500 kWh/kW/year |
|---|---|
| Heat pump COP | 3-4 at 35°C flow |
| Insulation R-value | 2-5 m²K/W typical retrofit |
| Typical payback time | 7-15 years |
| Roof tilt preferred | 15°-40° |
The short version
- Assess your building’s energy profile first using heating bills and insulation condition.
- Match renewable retrofit type to your building’s heating system, roof space, and energy use.
- Prioritize retrofits with lower disruption if living onsite; consider staged installation.
- Solar PV fits most roofs but depends on roof orientation and shading.
- Heat pumps require good insulation and may need heating system upgrades.
How to assess your building energy profile for retrofit
To retrofit renewable energy effectively, start by reviewing your building’s energy consumption patterns. Heating often accounts for 60-80% of energy use in temperate climates, so focus first on heating demand and how well your building holds heat.
Gather at least 12 months of heating and electricity bills to calculate your annual consumption in kilowatt-hours (kWh). Note seasonal variations and peak demands. This data reveals whether your building has high heat losses or inefficient heating equipment.
Next, inspect the building fabric (walls, roof, windows, and floors) for insulation levels. Typical retrofit targets improve overall thermal resistance (R-value) to between 2 and 5 square metres kelvin per watt (m²K/W), depending on existing conditions and local climate.
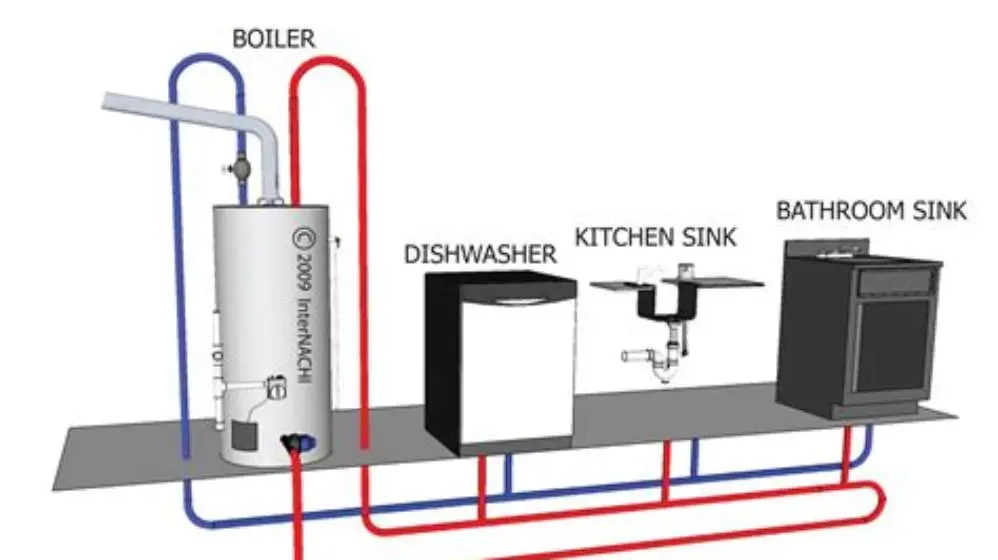
An air leakage test or thermal imaging scan can identify drafts and insulation gaps. You might need to hire a professional or rent a blower door test kit to get accurate readings. This step is crucial since renewable heating systems perform poorly if the building is leaky. For the detail, see our notes on retrofit hot water recirculation system.
Key renewable energy retrofit types and their fit scenarios
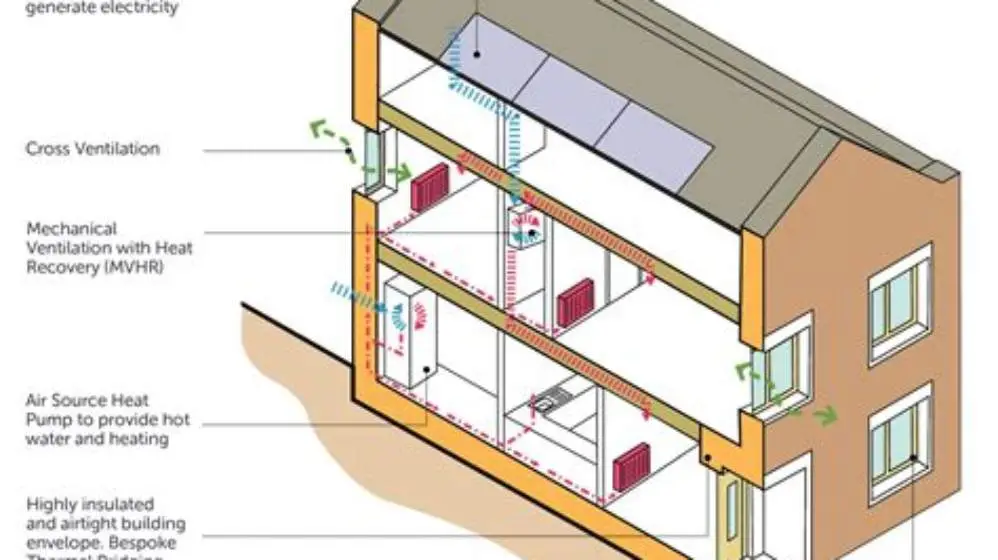
Three main renewable retrofit types suit buildings differently: solar photovoltaic (PV) panels, heat pumps, and solar thermal collectors. Each has unique space, energy, and system demands.
Solar PV panels generate electricity directly from sunlight. They typically produce 750-1500 kWh per installed kilowatt peak (kWp) annually, depending on roof orientation, tilt, shading, and local solar radiation. They suit buildings with south-to-southwest facing roofs free of shade and at least 10-15 square metres of clear area.
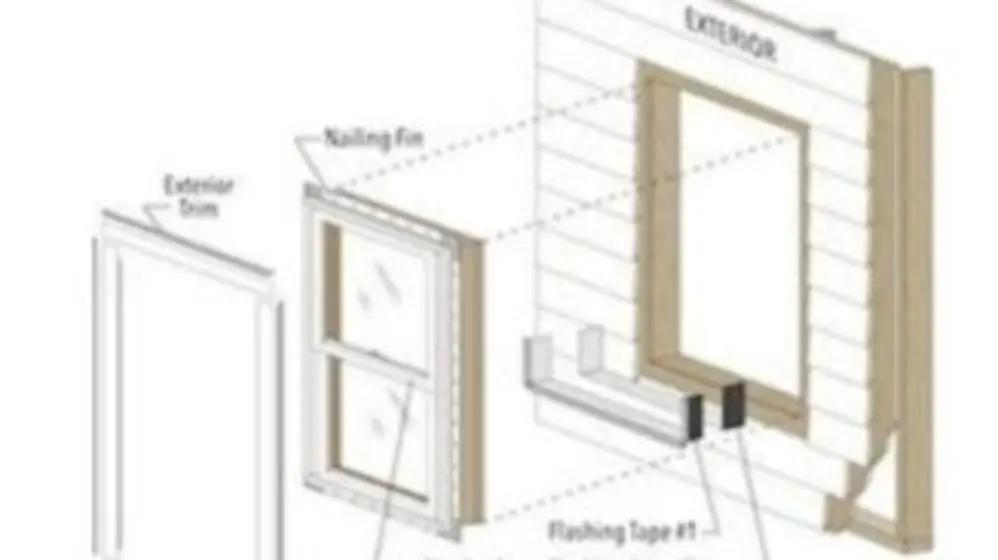
Heat pumps extract heat from air, ground, or water to provide space and water heating. They deliver 3-4 times the energy they consume at moderate flow temperatures (COP of 3-4 at 35°C). Heat pumps perform best in well-insulated buildings with heating systems capable of low-temperature operation, such as underfloor heating or oversized radiators. We cover how to install retrofit windows in its own article.
Solar thermal collectors capture sunlight to heat water directly. They require roof space similar to solar PV but serve primarily for hot water rather than electricity or space heating. Their usefulness declines in larger homes with high hot water demand or in cloudy climates.
| Retrofit Type | Space Needed | Energy Output Range | Best Building Fit | Disruption Level |
|---|---|---|---|---|
| Solar PV | 10-30 m² roof | 750-1500 kWh/kWp/year | Good solar exposure, electrical loads | Low |
| Heat Pumps | External unit + indoor space | 3-4 COP heating | Well-insulated, low-temp heating | Medium |
| Solar Thermal | 10-20 m² roof | 2000-4000 kWh thermal/year | Hot water-priority homes | Medium |
Stepwise decision criteria for matching retrofit to building
Apply three key checks in sequence to decide which renewable retrofit fits your building best. Each step narrows options and aligns them with your energy goals and disruption tolerance.
Step 1: Confirm building fabric quality. If the insulation is below R=2 m²K/W or drafts are unchecked, prioritize fabric improvements before renewable heat systems. Poor insulation wastes heat pump efficiency and lowers payback. For the detail, see our notes on retrofit insulation cold after sealing.
Step 2: Assess roof suitability. Measure roof area, south-facing proportion, and shading. If at least 10 square metres with good solar access exists, solar PV or thermal is viable. Without it, focus on heat pumps or other heat sources.
Step 3: Review your heating system compatibility. Heat pumps need low-temperature emitters and may require radiator upgrades. If your system uses high-temperature radiators or direct electric heating, solar PV combined with efficient electric heating may be better.
Balance cost and disruption: heat pumps often involve more installation work and expense but yield deeper savings over time. Solar PV is less disruptive with quicker payback but saves mainly on electricity, not heating. We cover building features for zero carbon in its own article.
- Assess insulation and air tightness, upgrade if below
R=2 m²K/W. - Survey roof space: measure area, angle, and shading, ensure >10 m² solar access.
- Check heating system type for compatibility with heat pumps or electric heating.
- Compare budget and willingness to accept disruption with expected savings and carbon cuts.
Planning a staged retrofit to balance cost, disruption, and savings
Implementing a renewable retrofit in stages makes costs manageable and limits household disruption. Start by addressing the cheapest and simplest energy-saving measures that unlock higher efficiency for future renewables.
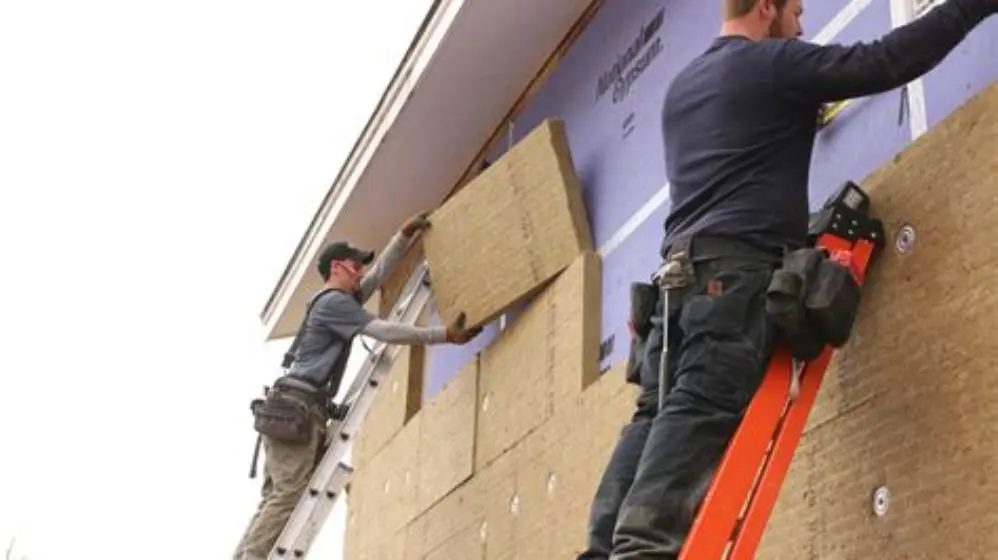
Begin with fabric upgrades such as cavity wall insulation, loft insulation, or draught-proofing. These typically cost less than renewable installations and immediately reduce heat loss, making subsequent heat pump or PV systems more effective.
Next, install solar PV panels if your electrical consumption supports it. This step has minimal impact on daily living and provides quick returns on investment. There is more on hvac retrofit meaning and parts in a separate guide.
Schedule heat pump installation once the building envelope is improved and your heating system is prepped. Heat pumps incur higher upfront costs and require plumbing and electrical changes, so plan for temporary heating backup during installation.
A staged approach lets you spread payments, adapt as energy prices or technologies evolve, and avoid over-investing before confirming building performance improvements.
- Fabric upgrades first: insulation and air sealing.
- Solar PV second: low disruption, electricity offset.
- Heat pumps last: higher cost and more complex install.
Which renewable retrofit fits your building: balancing factors step-by-step
To choose the right retrofit, weigh these factors: building fabric, roof characteristics, heating system, budget, and tolerance for disruption. The balance shifts depending on energy targets and local circumstances.
Buildings with poor insulation and high heating demand benefit most by improving fabric first. Heat pumps then become viable and deliver 50-70% savings on heating bills.
Solar PV suits nearly any building with adequate sun exposure and electric loads, but its financial return depends on self-consumption rates and export tariffs.
Where roof solar is limited, and insulation is fair, small air source heat pumps combined with efficient electric heating offer a good middle ground.
Solar thermal remains a niche fit, mainly for homes with high hot water use and clear south-facing roof space but limited space for PV or heat pumps.
Your retrofit choice must consider what you can afford upfront, how much disturbance you accept, and your long-term savings goals.
| Factor | Heat Pump Fit | Solar PV Fit | Solar Thermal Fit |
|---|---|---|---|
| Building insulation | Best if R>2 m²K/W | Works anyway | Works anyway |
| Roof solar access | Not needed | Needs ≥10 m² good sun | Needs ≥10 m² good sun |
| Heating system type | Low-temp systems only | Any electric system | Any system with hot water demand |
| Installation disruption | Medium-high | Low | Medium |
| Initial cost | High | Medium | Medium |
| Annual savings potential | High | Medium | Low-medium |
Next steps after choosing your renewable retrofit
Once you identify the appropriate retrofit, arrange a professional energy assessment to verify your assumptions about insulation, solar access, and heating system compatibility. This can prevent costly errors and specify equipment size correctly.
Order or rent a thermal imaging camera or blower door test kit if your energy assessor does not provide these checks. Accurate data on heat loss and airtightness guides your retrofit scope precisely.
Get multiple quotes from installers experienced in renewable retrofits and check references. Confirm warranties and expected maintenance for equipment choices.
Plan financing options and check for grants or incentives available locally, as these can significantly improve payback times.
Schedule works to align with your household availability and weather, especially for heat pump installations requiring dry conditions.
Prepare your home for installation by clearing work areas and notifying occupants about any temporary disruptions.
- Hire an energy assessor for detailed building evaluation.
- Acquire or borrow thermal imaging and blower door test kits if needed.
- Collect and compare installer quotes and certifications.
- Look at financing, incentives, and grants available in your area.
- Plan installation timing to minimize disruption.
- Prepare your home by clearing access and setting expectations with occupants.
Questions people still ask
How do I know if my roof is suitable for solar panels?
Measure your roof’s south-facing area and check for shading from trees or buildings. At least 10 square metres of clear space and a tilt between 15° and 40° usually result in good solar panel performance.
What insulation level is needed before installing a heat pump?
Your building should have an overall fabric insulation of at least R=2 m²K/W. Below this, heat pumps run inefficiently and costs rise, so improve insulation first.
Can I install solar PV and a heat pump together?
Yes, combining solar PV with a heat pump is common and efficient. Solar PV offsets electricity use, while the heat pump replaces fossil fuel heating, maximizing savings.
How disruptive is a heat pump installation?
Heat pump installation can take several days including plumbing, electrical work, and possibly radiator upgrades. Temporary heating backup is often needed during this time.
Is solar thermal worth installing instead of solar PV?
Solar thermal mainly benefits homes with high hot water demand and good solar access, but it’s less versatile than solar PV. Consider your hot water usage before choosing.