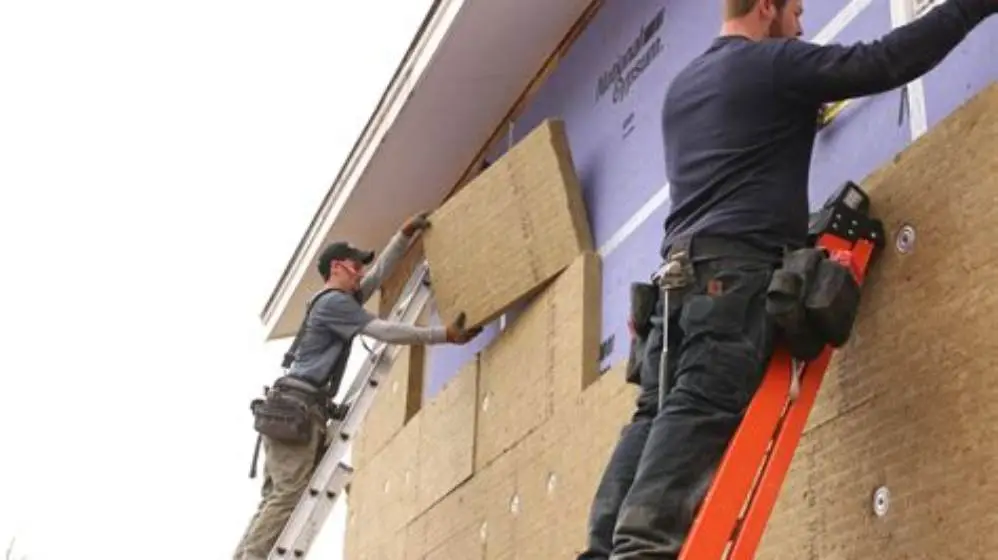
External wall insulation changes how moisture moves through walls, putting timber sash windows at risk of rot if details aren't right.
External wall insulation can cause timber sash windows to rot when it pushes the window head into a colder zone, traps moisture behind the frame, or blocks natural ventilation paths. Proper detailing with flashings, breathable reveals and ventilation gaps prevents most problems.
On this page
- The short version
- How external wall insulation changes moisture behaviour around timber sash windows
- Why timber sash windows rot after external wall insulation is installed
- Inspecting timber sash windows for early rot after EWI
- Preventing rot when installing external wall insulation around sash windows
- Repairing rot in timber sash windows after external wall insulation
- Long-term maintenance of timber windows after external wall insulation
- Questions people still ask
Part of our guide on staged home retrofit
EWI shifts the thermal plane outward, and timber windows that once stayed warm enough to dry out can suddenly sit in the condensation zone.
| Rot risk zone | Window head and lower sash rail |
|---|---|
| Ventilation gap needed | 10–15 mm behind insulation at reveals |
| Inspection interval | Every 3–6 months for first two years |
| Critical detail | Flashing over window head, lapped outward |
| Render choice | Breathable lime or silicone, not cement |
| Early rot sign | Soft timber, dark stains, paint blisters |
The short version
- EWI moves the warm side of the wall outward, often leaving window frames in a colder, damper zone where condensation forms
- Check reveals and sills every few months for soft timber, dark staining, paint blisters or a sour smell: all signs rot has started
- Install a flashing above the window head and leave a 10–15 mm ventilation gap behind insulation around reveals
- Use breathable lime render or silicone render over EWI, never cement, to let moisture escape rather than pooling at timber joints
- If rot has started, cut out affected timber back to sound wood, treat with boron preservative, and splice in new sections before refinishing
How external wall insulation changes moisture behaviour around timber sash windows
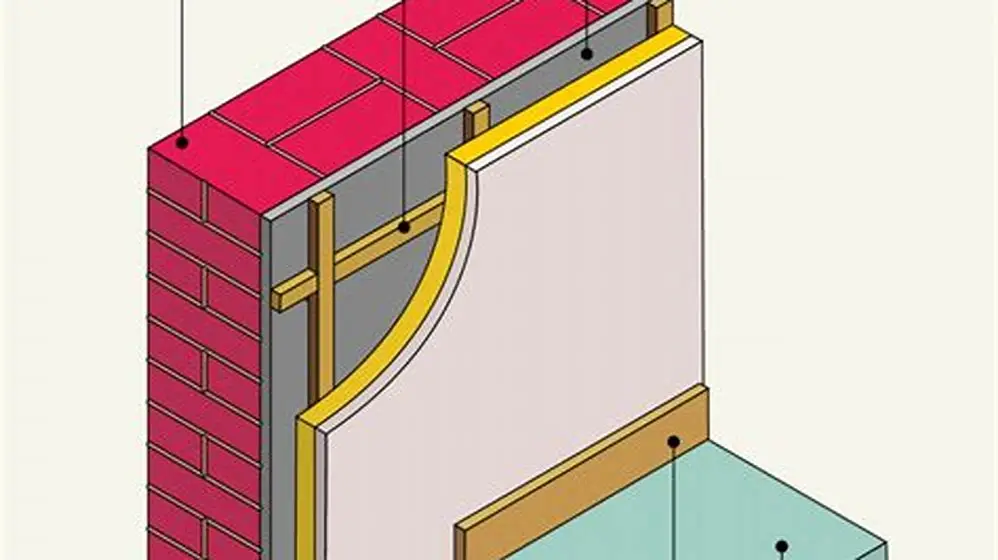
Before EWI, the inside face of a solid brick wall sits warm because heat flows through it. The window frame, set into the reveal, stays warm enough that any moisture from condensation or rain evaporates before rot fungi take hold. Timber below 12–15% moisture content won't rot. Add external wall insulation and you move the thermal boundary outward by 100–150 mm, depending on the insulation thickness. The wall behind the insulation drops toward outdoor temperature. So does the reveal around the window.
Sash windows in older homes were never designed to sit in a cold zone. The timber frame now straddles two climates: the inner edge stays warm from indoor air, but the outer edge drops close to outdoor temperature. Where warm meets cold, you get a dew point: the temperature at which water vapour condenses into liquid. If that dew point lands inside the timber or at the joint between frame and masonry, moisture collects faster than it can dry. Rot fungi need moisture above 20%, oxygen and a food source. Timber provides the food. EWI can provide the moisture.
The risk climbs when insulation wraps tight to the reveal with no ventilation gap. Any moisture that does get in (from wind-driven rain, a missed flashing detail or interstitial condensation) has nowhere to go. It pools at the bottom rail of the lower sash and the sill, or behind the window head where the drip detail should be. Those are the two most common rot sites after EWI. A third pathway opens if the original wall had cavity closer to the window: EWI can bridge that cavity, creating a cold bridge that funnels condensation straight to the frame.
Breathable render over the insulation helps. Lime or silicone render lets water vapour diffuse outward. Cement render or acrylic topcoat traps it. The moisture then migrates to the weakest point (usually the junction between insulation and window frame) and sits there. You won't see it from inside until paint blisters or the timber feels spongy. By then, rot is established. For the detail, see our notes on internal wall insulation plasterboard bubbling after external wall insulation.
Why timber sash windows rot after external wall insulation is installed
Rot needs three things: moisture above 20%, temperature between 5°C and 40°C, and wood. EWI rarely raises temperature enough to stop rot, but it often raises moisture enough to start it. The window head is the first casualty. Rain runs down the insulation face, hits the top of the frame, and should shed outward over a flashing. If the installer omitted the flashing or lapped it the wrong way, water runs behind the frame instead. Capillary action pulls it into the end grain of the timber head, and end grain soaks up water five to ten times faster than face grain.
The lower sash bottom rail and the sill come next. Condensation forms on the cold inner face of the glass, runs down, and collects in the joint between sash and sill. Before EWI, that moisture evaporated within hours. After EWI, the reveal stays cold and damp. The sill never dries. Wet rot fungi (usually Coniophora putzeanae or Serpula lacrymans) colonise the timber in weeks. The wood darkens, softens, and eventually splits along the grain. Paint hides it for a while, but the surface cracking or blistering gives it away.
A third cause is poor reveal detailing. If the insulation board butts hard against the frame with sealant at the joint, any moisture in the wall or insulation has no escape route. It condenses at the coldest point, which is the frame. Timber moisture content climbs to 18–22%, and within a heating season the frame shows early rot. Some installers pack insulation into the reveal to eliminate thermal bridging, forgetting that timber is hygroscopic: it absorbs and releases moisture with the air around it. Block that airflow and you block drying. We cover how to install retrofit windows in its own article.
Old sash windows often have single glazing with no weather seals. Cold glass means more condensation, and gaps around the sash mean more infiltration and exfiltration. When EWI tightens the building envelope, those air leaks drop. Humidity rises indoors, and condensation on cold single glazing doubles. All that moisture ends up at the sill and rail joints. If you add EWI without upgrading to slim double glazing or improving ventilation, you've stacked the deck against the timber.

BSIDE 2 Pins Wood Moisture Meter Handheld Timber Water Lumber Damp Humidity
Inspects timber moisture with 10mm pin penetration calibrated for wood species, ensuring early detection of rot risk in sash windows
Inspecting timber sash windows for early rot after EWI
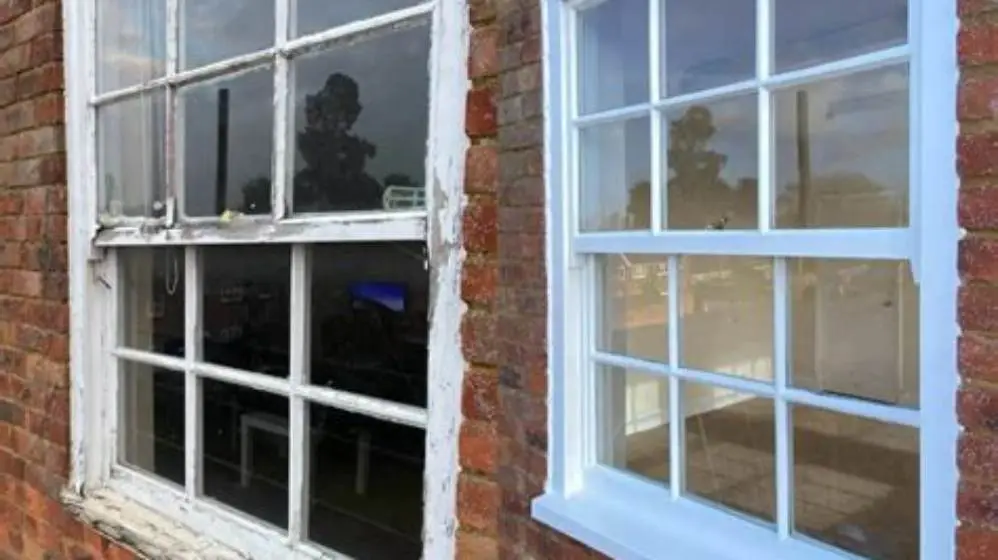
Check the window head first. Stand outside and look where the top of the frame meets the insulation. Run a finger along the underside of the head if you can reach it. Soft timber that dents under thumb pressure, dark staining spreading from the joint, or a sour, mushroomy smell all mean decay has started. Paint blisters or cracks that follow the grain are another sign: moisture has pushed the paint film off the surface. If you see any of those, probe gently with a bradawl or small screwdriver. Sound timber resists; rotten timber crumbles or the tool sinks in with little force.
Move to the sill and lower sash rail. Open the window and inspect the bottom rail from inside. Look for dark streaks at the corners where water pools. Feel for sponginess. Close the window and check the sill from outside, especially the drip groove on the underside: if that's clogged or missing, water runs back onto the timber face. Early rot here shows as surface flaking, a dusty residue, or timber that's lost its springiness. The wood may look fine but compress under a fingernail. For the detail, see our notes on why does my retrofit insulation still feel cold after airsealing.
Check the reveals next, top and sides. If the insulation abuts the frame with no gap, moisture often condenses on the masonry behind and wicks into the timber at the fixing points. Pull back any trim or bead if you can and inspect the back edge of the frame. A moisture meter with pins is useful here: push the pins 5–10 mm into the timber at several points around the frame. Readings above 18% mean risk; above 22% and rot is likely active. Take readings in winter when condensation risk peaks, not in summer when everything reads dry.
Inspect every three to six months for the first two years after EWI, then annually if no problems show. Rot can establish in one wet winter if conditions align. If you spot soft timber, don't wait: rot spreads faster once the fungus is growing. Mark the affected areas with tape, photograph them, and plan repairs. Small patches of rot can be cut out and spliced; frames with extensive decay need replacing, and that's a £800–£1,500 job per window in 2026.
- Inspect window head underside for soft timber, dark staining or paint blisters: probe gently with a bradawl if surface looks suspect
- Check lower sash bottom rail and sill for sponginess, surface flaking or dark streaks at corners where water collects
- Examine reveals and back edges of frame for moisture using a pin-type moisture meter: readings above 18% indicate risk
- Repeat inspections every 3–6 months for the first two years, then annually, focusing on winter when condensation peaks
Preventing rot when installing external wall insulation around sash windows
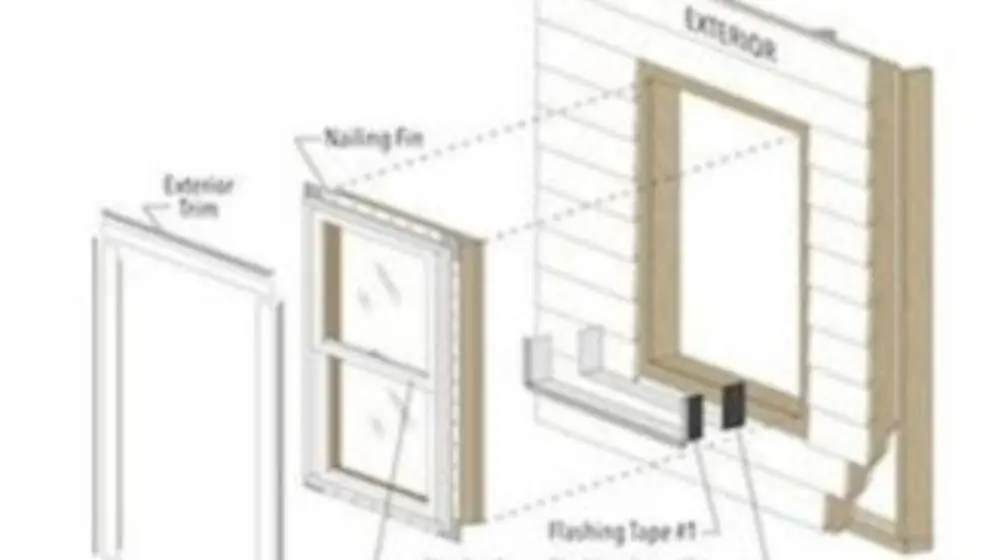
Fit a flashing above the window head before the insulation goes on. The flashing (aluminium, lead or coated steel) should tuck under the render and lap outward over the top of the frame by at least 25 mm, with the outer edge turned down to form a drip. This sheds water clear of the timber. Without it, water runs behind the insulation and soaks into the head. Many EWI installers skip this detail because it's fiddly and the render hides the mistake. Insist on it in the specification and check it's done before the topcoat goes on. Before you commit to anything, it is worth looking at 1930s semi mvhr unit.
Leave a 10–15 mm ventilation gap between the insulation board and the timber frame around reveals and sills. This allows air movement so moisture can evaporate rather than condensing on the frame. Fill the gap with a compressible foam backer rod and a breathable sealant, not rigid foam or cement mortar. Rigid fill blocks airflow. The gap also gives the timber room to move with seasonal humidity changes without cracking the render. Some installers worry the gap creates a thermal bridge, but the rot risk from blocking it far outweighs the small heat loss.
Specify breathable render. Lime render has been used on solid-wall buildings for centuries because it lets moisture pass through. Modern silicone renders offer similar permeability with better weather resistance: look for a water vapour resistance of SD < 0.5 metres. Avoid cement render or acrylic topcoats with SD > 2 metres; they trap moisture. The render system should allow the wall to dry outward while keeping rain out. If moisture can't escape, it migrates to the weakest point, which is always the window frame.
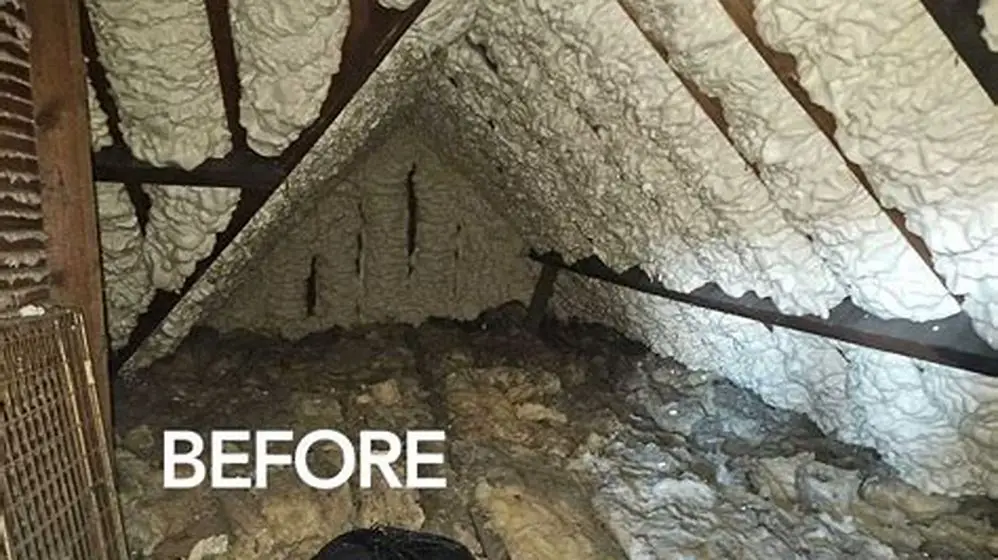
Upgrade to slim double glazing if the windows still have single panes. Modern heritage double glazing fits the original sash pockets and cuts condensation dramatically by raising the inner glass surface temperature. It also reduces heat loss, so the frame stays warmer and dries faster. If replacing glazing isn't an option, improve ventilation: fit trickle vents in the frame head or add background ventilation elsewhere in the room to keep indoor humidity below 50–55% RH. High humidity with cold single glazing is a recipe for condensation and rot, EWI or not. There is more on spray foam insulation in loft sagging after a year in a separate guide.
- Flashing above head: aluminium or lead, lapped outward 25 mm minimum with a drip edge, tucked under render
- Ventilation gap: 10–15 mm around reveals and sill, filled with compressible backer rod and breathable sealant, never rigid foam
- Breathable render: lime or silicone with SD < 0.5 m, avoiding cement or acrylic topcoats that trap moisture
- Slim double glazing: reduces condensation and keeps frame warmer, or add trickle vents if single glazing must stay
Repairing rot in timber sash windows after external wall insulation
If you've found rot, act quickly. Rot fungi spread through timber at up to 10 mm per month in ideal conditions, and the longer you wait the more timber you lose. For small patches (less than 50 mm × 50 mm) you can cut out the decay and splice in new timber. Use a sharp chisel or oscillating saw to remove the rotten section back to sound wood, cutting at least 20 mm beyond any discolouration or softness. The cavity should have clean, firm edges. Treat the surrounding timber with a boron-based wood preservative (10% boric acid equivalent), which penetrates deep and stops fungal regrowth without the toxicity of older copper-chrome-arsenic treatments.
Cut a replacement piece from matching timber (redwood or Douglas fir for most sash windows) shaped to fit the cavity with a snug glue joint. Use an epoxy wood adhesive with structural strength; PVA won't hold in damp conditions. Clamp or pin the splice until the epoxy cures, then plane flush, prime with an oil-based primer, and repaint. The repair is invisible if done well and will outlast the surrounding timber if the moisture problem is fixed. If the rot extends over more than a third of a rail or stile, replacement is safer than splicing.
For extensive decay (whole rails, stiles or sills) you'll need a joiner to replace those components or fit a new sash. A bottom rail replacement on a single sash runs £150–£250 in 2026, depending on size and joinery rates. A full window-frame rebuild is £800–£1,500, and if the rot has spread into the masonry opening you're looking at more. Before any repair, identify and fix the moisture source: missing flashing, blocked ventilation, failed sealant. If you repair the rot but leave the cause, it returns within a year.
If the rot is dry rot (Serpula lacrymans, identified by yellow-brown fruiting bodies, white cotton-wool mycelium or a mushroom smell) call a specialist. Dry rot spreads through masonry as well as timber, and treatment may require opening up the wall, sterilising masonry, and replacing all affected timber plus a 500 mm margin beyond visible damage. It's rare after EWI unless the building was already damp, but it's serious when it occurs. Wet rot (Coniophora) is far more common post-EWI and is contained to the timber, so removal and drying usually stop it.
Long-term maintenance of timber windows after external wall insulation
Once EWI is in place, timber windows need closer attention than before. Repaint every four to six years rather than seven to ten, because the frame now sits in a harsher microclimate with more thermal cycling and moisture exposure. Use a breathable exterior wood paint or stain: microporous coatings let moisture escape while keeping rain out. Gloss or enamel paints form an impermeable film that traps moisture, leading to blistering and rot underneath. Prepare the surface properly: sand back to bare timber if the old paint is cracked or peeling, spot-prime any exposed wood, then apply two topcoats.
Clear debris from sills and drip grooves every autumn and spring. Leaves, moss and dirt block drainage and hold moisture against the timber. A soft brush and a damp cloth are enough. Check that weep holes or drainage slots in the sill haven't been sealed over with paint or render. If the window has a sub-sill or cill extension, make sure it's not bridging the ventilation gap you left around the frame: some plasterers fill those gaps by mistake during finishing.
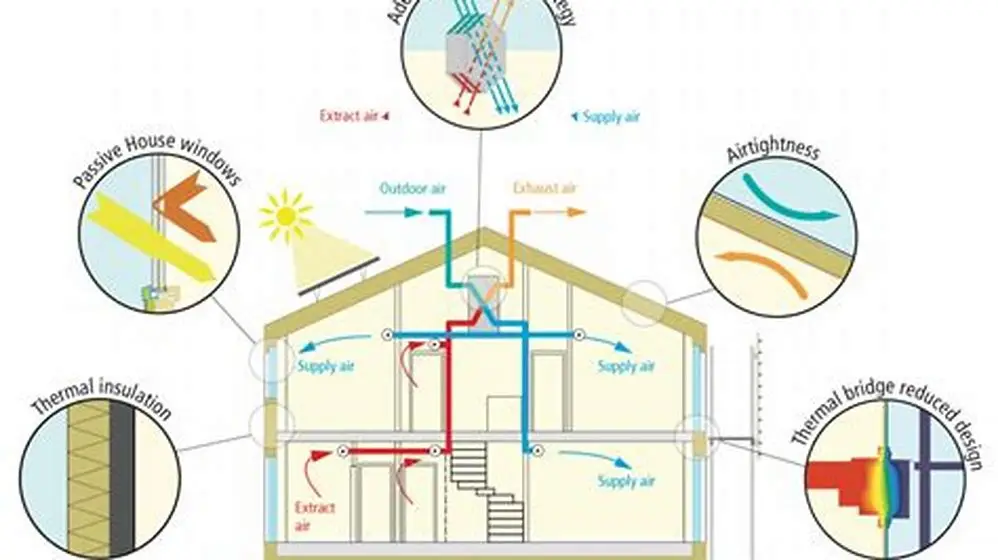
Monitor indoor humidity, especially in the first winter after EWI. The building will be tighter, so moisture from cooking, washing and breathing stays inside unless ventilated out. Aim for 45–55% relative humidity in winter. Use extract fans in kitchens and bathrooms, open windows for 10–15 minutes twice a day to purge stale air, or fit a whole-house MVHR system if the budget allows. Lower humidity means less condensation on windows and frames, which directly cuts rot risk.
Inspect the EWI render around windows annually. Cracks in the render let water behind the insulation, and once it's in there it takes weeks to dry out. Patch any cracks wider than 0.5 mm with a flexible filler or render repair compound matched to the original finish. Check that sealant joints between render and frame are intact: they perish after five to eight years depending on UV exposure and quality. Rake out failed sealant and renew it with a breathable silicone or hybrid polymer sealant. Don't use butyl or acrylic; they skin over but don't bond well to lime or silicone render.
- Repaint: every 4–6 years with microporous breathable paint, sanding back to bare timber if old coats are cracked or blistering
- Clear debris: twice yearly from sills, drip grooves and weep holes to maintain drainage and airflow
- Control humidity: keep indoor RH at 45–55% in winter using extract fans, window purging or MVHR to cut condensation
- Inspect render: annually for cracks wider than 0.5 mm, and renew perished sealant joints every 5–8 years with breathable product
Questions people still ask
Can I install external wall insulation on a building with timber sash windows without causing rot?
Yes, if the details are right. Fit a flashing above each window head, leave a 10–15 mm ventilation gap around reveals, use breathable render, and inspect the windows every few months for the first two years. Most rot after EWI comes from missing or badly executed flashings and blocked ventilation, not from the insulation itself.
How long does it take for rot to develop in timber windows after external wall insulation is added?
Early decay can appear within 6–12 months if moisture is trapped and the timber stays above 20% moisture content. Established rot with visible softening and dark staining typically takes 18–24 months. Inspect windows every few months initially so you catch problems before they become expensive.
What type of render should I use over external wall insulation to avoid timber window rot?
Use lime render or a breathable silicone render with a water vapour resistance of SD < 0.5 metres. Avoid cement render or acrylic topcoats with SD > 2 metres, because they trap moisture that then migrates to the window frame. Breathable finishes let the wall dry outward while keeping rain out.
Is it better to replace timber sash windows with uPVC before adding EWI?
No. Timber sash windows are repairable, historically appropriate and thermally upgradable with slim double glazing. uPVC replacements rarely match the original proportions, harm the building's character, and still need proper flashing and ventilation details around the frame. Fix the EWI detailing rather than replacing sound timber.
Should I hire a specialist for EWI installation if I have timber sash windows?
Yes, or at minimum specify the window details in writing and inspect them before the topcoat goes on. General EWI installers often omit flashings and ventilation gaps around timber windows because those details add time and complexity. A contractor experienced with period properties or PAS 2035 retrofit will understand the moisture risks and detail the reveals correctly.
Can I claim ECO4 or other grant funding for EWI if I have timber sash windows?
Yes, timber windows don't disqualify you from ECO4 or Boiler Upgrade Scheme grants for EWI. But the installer must follow PAS 2035 guidance, which requires a retrofit assessment and proper detailing to avoid unintended consequences like rot. Make sure the assessor notes the timber windows and that the specification includes flashing and ventilation measures.