Plasterboard bubbles after external insulation often mean moisture issues; test for condensation, cold bridges, and know your next steps.
Plasterboard bubbling after external wall insulation usually signals moisture trapped behind it from condensation or leaks. Check for cold bridging, measure moisture content with a meter, and test vapour risk. Fixing needs identifying causes, drying, and possibly upgrading ventilation or insulation.
On this page
- The short version
- What causes internal plasterboard bubbling after external wall insulation
- How to differentiate moisture-caused bubbling from other issues
- What tests or observations confirm moisture behind plasterboard
- Immediate actions to take for mitigation or repair
- When to involve a professional survey after plasterboard bubbles
- Internal wall insulation plasterboard bubbling after external wall insulation
- Questions people still ask
Part of our guide on cost-effective retrofit strategies
Identify and fix plasterboard bubbles after external insulation with clear moisture tests and practical steps to avoid costly damp damage.
| Moisture level sign | Above 16% MC |
|---|---|
| Common bubble cause | Cold bridging |
| Moisture test tools | Pin or pinless meter |
| Drying time | Weeks to months |
| Insulation impact | Can worsen cold bridging |
The short version
- Plasterboard bubbles often mean moisture, not just old paint.
- Moisture meter readings above 16% inside plasterboard need action.
- Cold bridging is a main cause behind moisture and bubbling.
- Testing involves moisture meters, thermal imaging, and surface checks.
- Remedial work must include drying and avoiding vapour traps.
What causes internal plasterboard bubbling after external wall insulation
Plasterboard bubbles on internal walls after external insulation usually result from moisture buildup behind the plasterboard. This moisture can come from condensation, water leaks, or residual damp trapped by the new insulation.
External insulation changes wall temperature profiles, often making walls colder inside. This can cause condensation on colder surfaces behind the plasterboard, especially where cold bridging occurs.
Cold bridging happens when building elements with low insulation conduct heat away rapidly. This reduces surface temperature, encouraging moisture to condense and form bubbles under plasterboard.
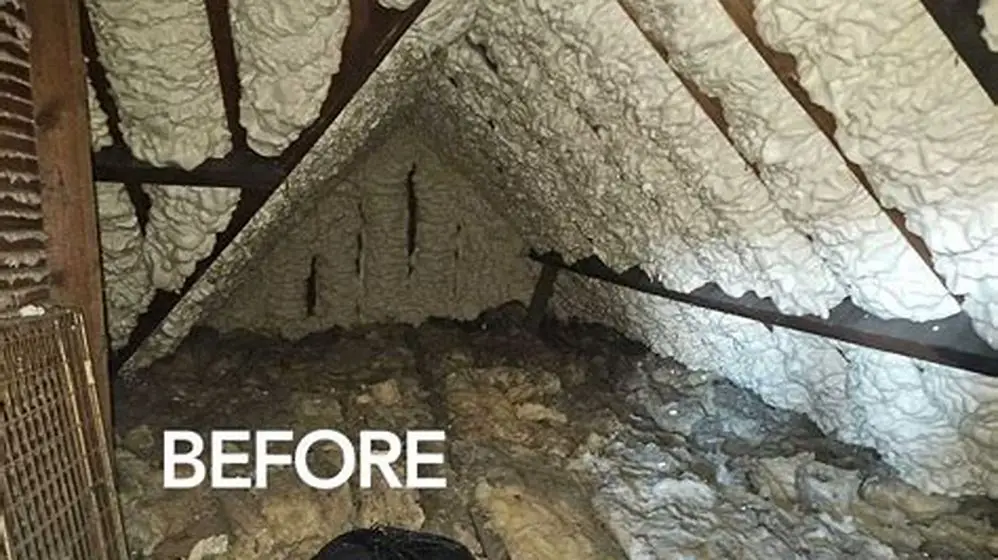
The risk increases if the installation lacks a proper vapour control layer or if ventilation is poor. Water ingress through wall defects or rain penetration can worsen the problem. We cover spray foam insulation in loft sagging after a year in its own article.
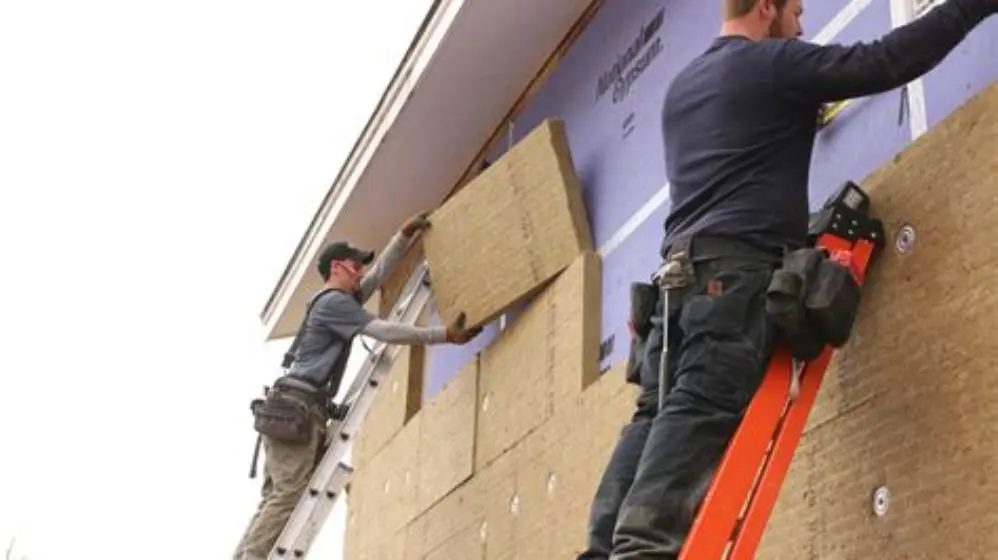
Moisture behind plasterboard can accumulate differently depending on the type of external insulation used. For example, rigid foam insulation tends to create a vapour barrier that can trap moisture if not properly sealed. Mineral wool insulation, while breathable, can hold moisture longer if water ingress occurs. The choice and installation quality of insulation directly influence plasterboard condition.
A common sign of moisture trouble is when bubbles form near wall corners or along wall-floor junctions. These areas often have thermal bridges or ventilation gaps. Measuring temperature in these spots with an infrared thermometer can reveal drops of 2-5°C compared to surrounding surfaces, signaling condensation zones. Moisture trapped here causes plasterboard to lose adhesion and bubble.
- Condensation: caused by reduced wall temperature and higher indoor humidity.
- Cold bridging: structural elements or junctions conducting heat away.
- Water leaks: cracks or faulty seals letting moisture in.
- Trapped damp: residual moisture sealed inside by insulation.
How to differentiate moisture-caused bubbling from other issues
Moisture-caused plasterboard bubbling usually involves soft, swollen, or peeling areas, sometimes with mould or a musty smell. Paint bubbles caused by moisture feel damp or soft to touch. We go through cost and disruption of wall insulation step by step elsewhere on the site.
Bubbles due to poor paint adhesion or air blisters are usually dry and hard. They do not soften or grow over time.
You can test by gently pressing the bubble. Moisture-related bubbles give way or crumble. Non-moisture bubbles resist pressure and stay firm.
Check around the bubble for water stains, peeling wallpaper, or visible mould. These are strong signs of moisture. For the detail, see our notes on retrofit insulation cold after sealing.
If you see no surface signs but suspect moisture, further testing is needed to confirm.
Sometimes, bubbling results from chemical reactions between paint and plaster rather than moisture. This is more common with oil-based paints over damp plaster primed incorrectly. To rule out moisture, feel the bubble and measure wall moisture with a meter. If readings are below 12%, suspect paint issues instead.
A key test is to puncture a bubble in a small, hidden area. Moisture bubbles release dampness or a musty odour when pierced. Paint bubbles release dry air and show no moisture. This simple test helps confirm the cause without expensive equipment. Before you commit to anything, it is worth looking at improving energy efficiency.
- Softness: moisture bubbles feel damp and soft.
- Growth: moisture bubbles enlarge over time.
- Stains: water marks or mould confirm moisture.
- Odour: musty smell suggests dampness.
- Paint-only bubbles remain hard and unchanged.

Klein Tools ET140 Pinless Moisture Meter
Does not measure moisture content in plasterboard up to 20%, only relative moisture up to 3/4 inch deep
What tests or observations confirm moisture behind plasterboard
Moisture meters are the most direct way to confirm moisture behind plasterboard. Pin meters measure electrical resistance between two pins inserted into the board, indicating moisture percentage.
Pinless meters use electromagnetic waves to detect moisture over a surface area without penetration. Both types can detect moisture content above 16% in plasterboard, which usually indicates a problem.
Thermal imaging cameras help identify cold bridging by showing temperature differences on walls. Cooler spots behind plasterboard correlated with bubbling signal where condensation is likely.
Visual inspection for mould, peeling, and damp stains complements instrument readings.
You may also measure indoor humidity and ventilation rates to assess condensation risk.
Take multiple moisture readings at bubble edges and away from them. A sharp difference, for example 18% moisture near bubbles versus 8% elsewhere, confirms moisture concentration under those areas.
Humidity sensors inside the room show if condensation risk is high. Values consistently above 60% relative humidity indoors increase condensation likelihood behind plasterboard. This data helps decide if ventilation improvements are needed along with insulation fixes.
If thermal imaging shows cool spots near bubbles, check if those spots align with metal wall ties or concrete lintels. These elements conduct heat and cause cold bridging, often invisible without imaging. Removing or insulating these bridges reduces moisture buildup.
- Use a moisture meter with a range covering 0-100% MC.
- Thermal imaging reveals cold spots linked to condensation.
- Visual checks spot mould and water stains.
- Indoor humidity meters show if moisture sources are high.
Immediate actions to take for mitigation or repair
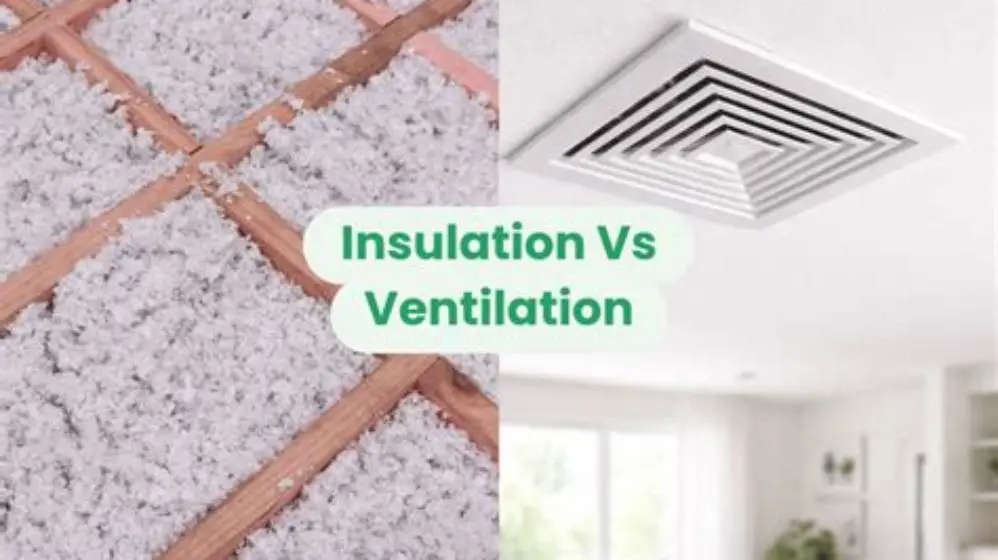
First, reduce indoor humidity by improving ventilation. Open windows or use extractor fans, especially in kitchens and bathrooms.
Check for and repair any external leaks or damaged seals in walls and windows.
If moisture levels are high behind plasterboard, dry the area using dehumidifiers or heaters.
Avoid sealing walls with non-breathable paints or wallpapers, which trap moisture.
In mild cases, drying and ventilation may stop bubbling from worsening without removing plasterboard.
If plasterboard is soft and damaged, it should be removed, dried, and replaced with materials that allow moisture to escape.
If moisture is trapped and plasterboard is bubbling, immediate drying is critical. Set a fan heater at 1kW near the wall for 6 hours a day and run dehumidifiers to lower relative humidity below 50%. This stops moisture from worsening damage.
If mould is present, clean surfaces with fungicidal wash before drying. This prevents health risks and mould spores spreading further into the house.
Avoid covering bubbling plasterboard with wallpaper or thick paint layers as this seals moisture inside. Instead, use permeable finishes like matt breathable paint after repairs.
- Increase ventilation and reduce indoor humidity.
- Inspect and fix external leaks or defects.
- Use dehumidifiers or heating to dry the wall.
- Remove and replace damaged plasterboard if needed.
- Avoid vapour-tight finishes on internal surfaces.
When to involve a professional survey after plasterboard bubbles
Call a professional survey if bubbling worsens despite DIY steps or if you detect mould or health symptoms.
A surveyor can perform detailed moisture readings, thermal imaging, and assess ventilation and building fabric.
They identify hidden water leaks, cold bridges, and vapour control issues that cause moisture build-up.
They also recommend remedial work like adding vapour barriers, improving insulation, or remediating damp.
Survey reports help with grant applications under schemes like ECO4 or the Boiler Upgrade Scheme.
If you suspect structural damage or persistent damp, professional advice is essential.
A professional survey includes testing outside the affected room. External wall defects like cracked render or blocked weep holes can cause moisture to enter and later bubble internal plasterboard.
Surveyors also assess ventilation effectiveness. For example, they measure air changes per hour (ACH); less than 0.5 ACH in a room significantly raises condensation risk.
They provide a detailed report with moisture maps, cold bridge locations, and recommended repairs. This helps you prioritise interventions for lasting results.
- Persistent bubbling or mould despite drying efforts.
- Visible water leaks or stains inside walls.
- Health issues linked to damp or mould exposure.
- Planning major retrofit or grant-funded insulation upgrade.
Internal wall insulation plasterboard bubbling after external wall insulation
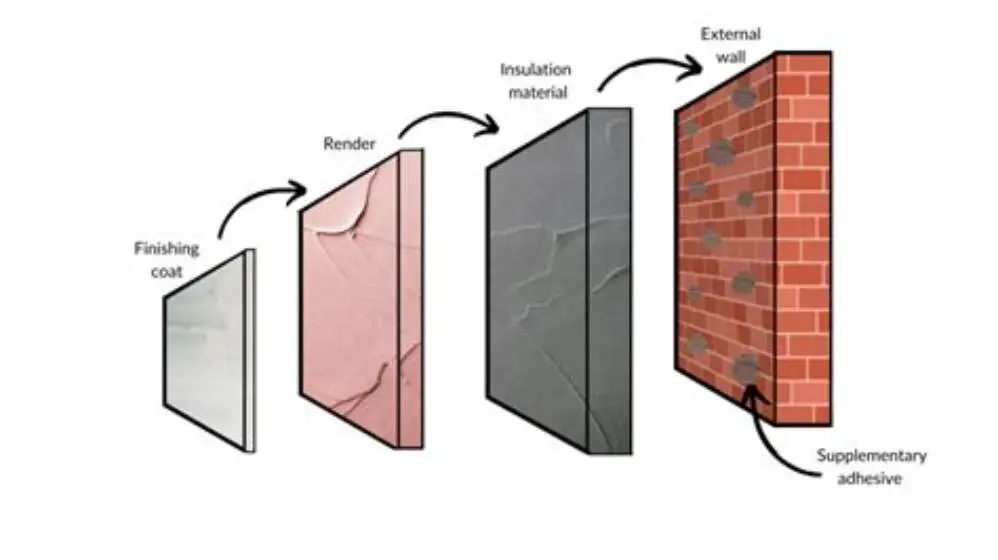
The query 'internal wall insulation plasterboard bubbling after external wall insulation' points to a layered retrofit problem. External insulation can reduce wall temperatures, increasing condensation risk behind internal insulation and plasterboard.
If internal insulation was added after external, vapour may be trapped between layers, causing moisture to accumulate and show as bubbles.
Proper planning for staged retrofit calls for balanced insulation installation to avoid vapour traps and cold bridges. Vapor control layers must be continuous and correctly specified.
Testing moisture content at each retrofit stage helps avoid surprises. Thermal imaging identifies cold spots where internal insulation may fail or cause condensation.
Follow remedial sequences: test moisture, fix sources, dry walls, and repair plasterboard with breathable materials.
This sequence reduces disruption and cost while maximising energy savings and moisture control.
| Aspect | External Insulation | Internal Insulation |
|---|---|---|
| Wall temperature | Higher interior surface temp, less condensation | Lower interior surface temp, more condensation risk |
| Cold bridging | Reduced if continuous insulation | Cold bridges likely at junctions |
| Vapour risk | Depends on vapour control layer quality | High risk if vapour barrier missing or discontinuous |
| Installation disruption | Moderate, affects façade | High, affects interior spaces |
| Cost | Higher upfront | Lower but potential hidden moisture costs |
Questions people still ask
How can I tell if plasterboard bubbles are from moisture or paint issues?
Press gently on bubbles. Moisture bubbles soften and may crumble. Paint bubbles stay hard. Look for mould, damp stains, or musty smell near bubbles.
What moisture meter should I use to check plasterboard?
A pin or pinless moisture meter that measures relative moisture content up to at least 20% is best. Measure multiple spots, focusing on edges of bubbles.
Can I fix bubbling by just repainting the plasterboard?
No. Painting over moisture bubbles traps moisture and worsens damage. You must find and fix moisture causes first, dry the wall, then repair plasterboard.
When is professional advice necessary for plasterboard bubbling?
If bubbles grow after drying attempts, mould appears, or there are health issues, call a surveyor. Also if you plan major insulation retrofit.
Does external wall insulation cause internal condensation?
It can if vapour control layers are missing or cold bridging exists. Lower wall temperatures inside increase condensation risk behind internal surfaces.