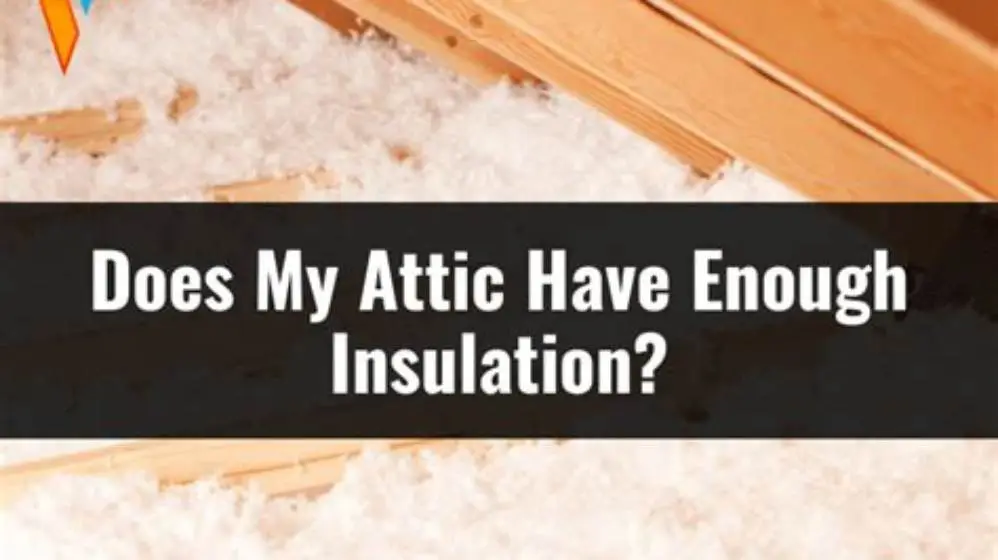
Check your home insulation’s R-values to reduce bills and drafts, and learn when and how to upgrade or improve aging materials safely.
Your home has enough insulation if the measured R-value meets or exceeds local building standards, typically R-30 or higher in attics; check for visible damage, moisture, and compression which lower performance over time.
On this page
- Key takeaways
- How to check if your home insulation is sufficient
- Does home insulation lose its effectiveness over time
- How to improve house insulation effectively
- How to insulate my home step-by-step
- Home insulation for senior citizens: special considerations
- Does your home have enough insulation? Checking and upgrading thresholds
- Questions people still ask
Identify your home's insulation R-value, spot aging losses, and learn practical steps to upgrade for comfort and lower energy bills.
| Typical attic R-value | R-30 to R-49 |
|---|---|
| Lifespan before aging loss | 15-20 years |
| Effective insulation thickness | depends on type, 200-400 mm |
| Energy saving potential | up to 20-30% heating bills |
| Common insulation types | fiberglass, cellulose, foam |
Key takeaways
- Measure insulation R-values with a simple gauge or ruler and material specs
- Insulation loses 10-20% effectiveness over 15-20 years due to settling and moisture
- Upgrade when R-value falls below local code or you feel drafts and high bills
- Seniors benefit from added insulation and targeted draught proofing for comfort
- Adding insulation requires attention to ventilation and moisture control
How to check if your home insulation is sufficient
To determine if your home has enough insulation, measure the insulation thickness and note its type. Most insulation types have a published R-value per inch or millimeter; multiply thickness by this to find total R-value. For example, fiberglass batts typically rate around R-3.2 per inch.
If your attic insulation thickness is below 200 mm (roughly 8 inches), your total R-value is likely under R-30, which many building codes recommend as a minimum for energy efficiency in colder climates. Walls often have lower R-values and are harder to inspect but should generally range from R-13 to R-21 depending on construction.
Look for signs of insulation degradation such as compression, moisture staining, or displacement. These reduce effective R-value by 10-20% or more. A thermal camera or an R-value meter designed for insulation can provide a more precise reading if you want to be sure.
Does home insulation lose its effectiveness over time
Yes, all common insulation materials lose some of their insulating power with age. Settling reduces thickness, and moisture can degrade fibers or foam cells, dropping R-value by 10-20% between 15 and 20 years after installation. The other half of this decision is repairing freeze damage.
Fiberglass and cellulose insulation fibers tend to compact, especially if disturbed by pests or renovation. Spray foams can shrink or crack, letting air bypass the material. Dust and dirt accumulation can also reduce performance.
This aging loss means insulation that once met code can become inadequate, causing drafts, cold spots, and higher heating bills. You can use an infrared thermometer to detect temperature differences on walls and ceilings that may reveal worn insulation areas.
In addition to material aging, environmental factors can accelerate insulation degradation. For example, insulation exposed to frequent moisture cycles, such as in poorly ventilated attics or crawl spaces, can suffer from mold growth or rot, further lowering R-values by 30% or more. This is especially critical for cellulose and fiberglass types, which absorb water more readily than closed-cell foams. There is more on slowing heat transfer in a separate guide.
To illustrate, a fiberglass batt with an initial R-value of R-13 that becomes compressed or damp over two decades may effectively perform closer to R-10, reducing its insulating ability by about 23%. This reduction can be confirmed by thermal imaging showing colder spots on interior walls or by a blower door test revealing increased air leakage, signaling insulation loss beyond normal settling.

Mini Handheld Thermal Camera
Detects heat loss and insulation issues with infrared temperature measurement from -40°C to 300°C, accurate to ±2°C.
How to improve house insulation effectively
Improving your home insulation starts with assessing existing materials and air sealing gaps. Add insulation where R-values are below recommended levels or where you feel drafts or temperature swings.
Common upgrade methods include adding fiberglass or cellulose loose-fill insulation over attic floors, installing rigid foam boards on walls under siding, or applying spray foam in gaps and around window frames to reduce air leakage. Before you commit to anything, it is worth looking at correct disposal methods.
When layering new insulation over old, ensure the existing material is dry and intact. Add vapor barriers as recommended for your climate to prevent moisture buildup that can degrade insulation and cause mold.
Don’t forget to balance ventilation after adding insulation to avoid trapping moisture in roof spaces or wall cavities, which can cause long-term damage.
When upgrading insulation, consider the climate zone and typical indoor humidity levels since these affect material choice and installation techniques. For instance, in colder climates, adding a continuous rigid foam layer on exterior walls can prevent thermal bridging and enhance overall R-value by up to 5 points, substantially improving heat retention. People in this spot often ask about rockwool thermal performance as well.
A practical example is adding a 25 mm (1 inch) layer of extruded polystyrene foam board rated at R-5 over existing wall sheathing before installing new siding. This method boosts wall insulation effectively without major interior disruptions. However, improper sealing or neglecting vapor barriers may trap moisture, so a moisture management plan is essential to avoid mold or structural damage.
- Attic: add loose-fill or batts to reach R-49 if possible
- Walls: consider blown-in cellulose or foam boards for retrofit
- Floors: insulate crawl spaces and basements to block cold air
- Air sealing: caulk cracks and install weatherstripping around openings
How to insulate my home step-by-step
1. Inspect current insulation thickness and condition in attic, walls, and floors. Use an insulation gauge or ruler and check for moisture or damage.
2. Identify air leaks around windows, doors, vents, and wiring penetrations using visual checks or a smoke pencil. If that sounds like your situation, read up on how to apply spray foam insulation next.
3. Seal leaks with caulk or foam sealant to improve airtightness before adding insulation.
4. Choose insulation type suitable for your home area: loose-fill cellulose or fiberglass for attics, rigid foam or blown-in cellulose for walls.
5. Install insulation to recommended thickness, maintaining ventilation paths in the attic to avoid moisture problems.
6. Add vapor barriers or breathable membranes if your climate requires, to control condensation inside walls and ceilings.
7. Inspect work after installation for gaps or compression. Maintain consistent thickness for best thermal performance.
After completing insulation installation, perform a simple test to check effectiveness: on a cold day, use an infrared thermometer to scan walls and ceilings for consistent surface temperatures. Large cold spots often indicate gaps or compressed insulation, which can be addressed with targeted filling or adding insulation layers.
Moreover, double-check that vents and soffits remain unobstructed to maintain airflow and prevent condensation build-up. For example, ensure at least 25 mm (1 inch) of clearance above insulation at eave vents. This prevents moisture problems and prolongs insulation life, confirming a successful installation.
- Measure existing insulation thickness and type
- Locate and seal air leaks
- Select insulation material and method
- Install insulation to recommended R-value
- Ensure proper ventilation and vapor control
- Inspect and adjust installation
Home insulation for senior citizens: special considerations
Seniors benefit from warmer, more stable indoor temperatures to reduce health risks from cold exposure. Adding insulation and targeted draught proofing can improve comfort significantly.
Prioritize insulation in floors and walls where seniors spend most time, along with attics to reduce overall heat loss. Consider thicker or higher-performance materials to keep indoor temperatures steady with less heating.
Install insulation that does not trap moisture or create damp spots, avoiding materials prone to mold. Good ventilation combined with insulation preserves healthier air quality.
Simple additions like insulated curtains and weatherstripping around windows also help reduce drafts cheaply and effectively.
Does your home have enough insulation? Checking and upgrading thresholds
To answer “does your home have enough insulation,” check the R-value against local recommendations, which mostly range from R-30 to R-49 for attics and R-13 to R-21 for walls depending on climate zone.
If your insulation falls below these thresholds or if you detect drafts, cold patches, or high heating bills, your home does not have enough insulation. Insulation older than 15 years often loses effectiveness and may need topping up.
Upgrade when the R-value is 10-20% below code or when comfort is compromised despite heating use. Use an insulation meter or thermal camera to pinpoint weak spots before investing in material.
The right insulation project balances cost, ease of installation, and long-term energy savings. An expert energy audit helps tailor the plan, but measuring your R-values and inspecting condition yourself saves money and adds confidence.
| Location | Recommended R-value range | Common insulation types |
|---|---|---|
| Attic | R-30 to R-49 | Fiberglass batts, loose-fill cellulose, spray foam |
| Walls | R-13 to R-21 | Blown-in cellulose, foam boards, fiberglass batts |
| Floors | R-13 to R-30 | Rigid foam boards, fiberglass batts |
Questions people still ask
How often should I inspect insulation for effectiveness?
Check insulation every 10-15 years or after events like roof leaks or pest infestations that may damage the material.
Can I add insulation myself or should I hire a contractor?
Basic attic insulation can often be DIY with proper safety gear, but walls and air sealing may require a professional for best results.
What insulation works best in humid climates?
Materials like closed-cell spray foam and foam boards resist moisture better in humid environments, but ventilation is equally critical.
Does adding insulation reduce noise as well as heat loss?
Yes, denser insulation types like cellulose also improve soundproofing but focus on thermal R-values for energy savings.
Are there any health risks with old insulation?
Asbestos is rare but possible in very old homes; disturbed insulation dust can irritate lungs, so wear masks and gloves when inspecting.