An electric staple gun keeps jamming on insulation netting for three common reasons: incompatible staples, poor settings, or mesh movement. Check the gun manual and staple maker's compatibility chart before buying supplies. Then test the lowest power that fully clinches the staple on your timber.
On this page
- Quick recap
- Check whether the gun, staples, or netting causes the jam
- Choose staples from the gun and netting specifications
- Set power and depth from a simple scrap test
- Hold the mesh flat and fix it in a steady sequence
- Use a hammer tacker when the mesh keeps tearing
- Clear jams safely and check the feed system
- Quick questions
Part of our guide on how to insulate a suspended timber floor
Quick facts
- Crown width
- Match the netting mesh and gun maker's specification
- Leg length
- Choose a suitable length below the timber thickness and verify the clinch
- Power setting
- Start at the lowest setting that fully drives the staple
- Fixing spacing
- Follow the netting maker's instructions or test pull-out on scrap
- Common jam cause
- Incompatible, damaged, or mixed staples
- Netting type
- Check the mesh material and opening size
- Timber type
- Check the batten or joist thickness and condition
Quick recap
- Match staple crown and leg length to the gun manual, netting mesh, and timber.
- Start at the lowest power that forms a full clinch on scrap timber.
- Clear the magazine before changing staple size or brand.
- Hold mesh flat and square the gun against the timber.
- Use a hammer tacker or capped staples when the mesh tears repeatedly.
Check whether the gun, staples, or netting causes the jam
Start with a safe isolation test. Remove the battery or disconnect the power, clear the magazine, and inspect the nose for a trapped staple.
Reload the exact staples listed in the gun manual. Fire into clean scrap timber without netting. A jam here points towards the magazine, feed system, staple strip, or drive mechanism.
If bare timber works, place a small piece of the netting over scrap. A jam only with mesh present points towards the crown, mesh opening, tension, or firing angle.
Listen to the tool during each test. A grinding or hesitation sound before a jam can point to a feed spring, dirty channel, or damaged pusher. A sharp thud followed by a bent staple can point to off-axis contact or a distorted strip. There is more on installing insulation in tight spaces in a separate guide.
Inspect the feed path after removing power. A bent feed pawl often leaves the next staple partly forward, while a weak spring may fail to push the strip against the driver. A dented magazine can pinch the strip along one point. Replace damaged parts rather than forcing the tool.
| Cause | Test | Result and next action |
|---|---|---|
| Gun | Fire the approved staples into bare scrap | A repeat jam suggests cleaning, a damaged part, or service |
| Staples | Compare the strip with the manual and compatibility chart | Wrong dimensions, wire, glue, or damage require a different strip |
| Netting | Fire over a small mesh sample on scrap | A jam only with mesh suggests crown fit, mesh movement, or angle |
| Magazine | Remove the strip and move the pusher by hand | Sticking or uneven travel suggests dirt, a bent rail, or spring trouble |
Choose staples from the gun and netting specifications
Use the gun maker's manual and the staple maker's compatibility chart as your primary sources. They should state the supported crown width, leg length, wire gauge, and staple type.
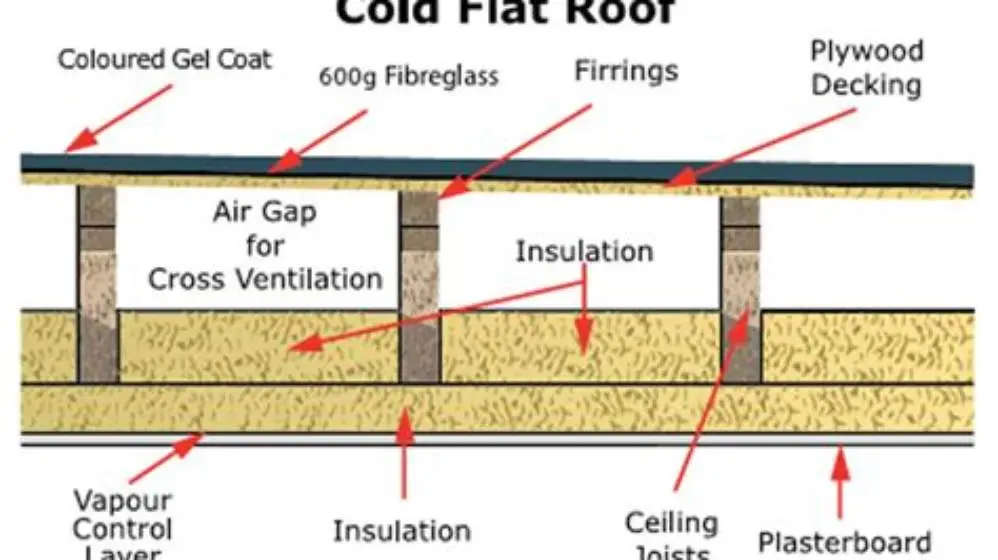
Choose a crown width that matches the mesh. Check your netting specification and the gun maker's recommended staple crown. The crown should hold the mesh without folding it into the nose or tearing the strands. People in this spot often ask about cold flat roof insulation options as well.
Select a leg length slightly shorter than the timber thickness. Fire two staples into scrap and check for a full clinch, a secure hold, and no dangerous protrusion. The gun manual takes priority if it gives a narrower range.
Check the timber before choosing a longer leg. Wiring, pipes, thin boards, and voids can make long staples unsafe. Never assume a staple is suitable because it fits the magazine.
Use the finish specified for the location. Galvanised or stainless staples resist corrosion better than plain steel in damp areas, but the finish does not make an incompatible staple safe to use. People in this spot often ask about 4 storey home insulation retrofit as well.
Mixing staple sizes in the magazine commonly causes feed problems. Clear every old strip before loading a new size, and remove any staple with bent legs, damaged glue, or corrosion.
If you have no manual, record the model number and ask the manufacturer or supplier for the approved staple list. Do not copy dimensions from another gun. Similar-looking tools can use different channels and drive systems.
| Check | How to verify | Reason |
|---|---|---|
| Crown | Compare the mesh opening with the netting and gun specifications | The crown must hold mesh without folding or tearing it |
| Leg | Keep it below timber thickness and verify the clinch on scrap | A short leg may pull out; a long leg may protrude |
| Material | Follow the netting and site exposure guidance | The finish affects corrosion resistance |
| Feed fit | Use the exact strip approved for the model | Wire, glue, and strip shape affect feeding |

STRIKER T50 Staples, 1/2 Inch Heavy Duty Staples for Staple Gun, Galvanized
Stops jams in insulation netting by using staples that state a 3/8" crown, 1/2" leg, 20-gauge wire and galvanized finish so the strip dimensions and wire are the manufacturers' listed fit.
Set power and depth from a simple scrap test
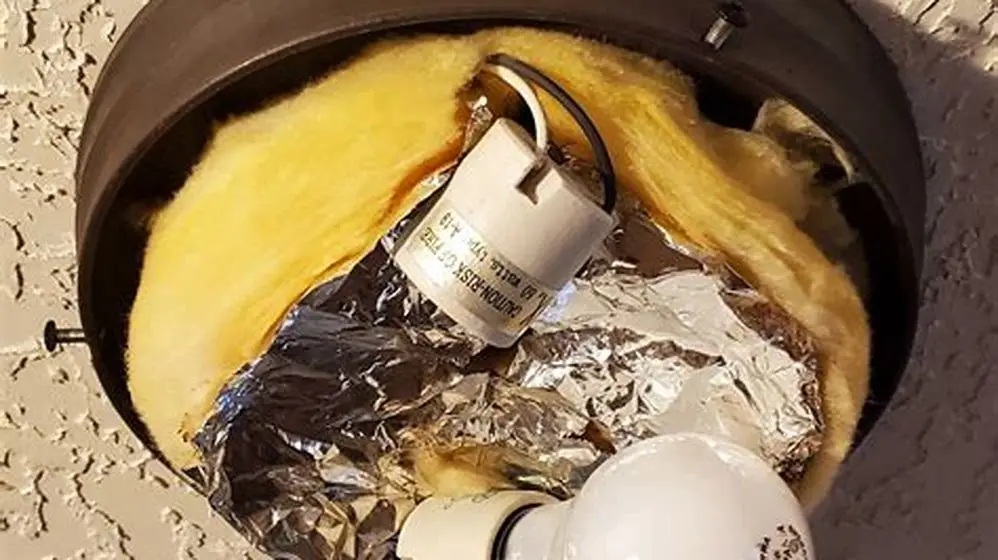
Start at the lowest power setting available. Fire one staple into scrap timber with the netting sample in place. Before you commit to anything, it is worth looking at light fixture insulation safety.
The correct result is a crown sitting flat, a full clinch, and mesh held without tearing. Increase power one step if the staple remains proud or fails to penetrate.
Lower the setting if the crown crushes the mesh, splits the timber, or drives too deeply. Some models label controls with numbers; others use low, medium, and high. Follow the model manual for the control meaning.
A depth control can change the result without changing power. Adjust it until the crown sits securely against the mesh and timber. Repeat the check after changing timber, mesh, or staple type. Before you commit to anything, it is worth looking at signs insulation needs replacing.
Use sequential firing when the gun offers it. It helps you seat the nose squarely for each fixing. Contact firing can encourage rushed shots and inconsistent angles.
Do not treat a successful test as permanent. Different timber density and mesh construction can change the drive result. Test again when the material changes.
- Power: start low and increase only when the staple fails to clinch
- Depth: set the crown secure and avoid crushing the mesh
- Trigger mode: use sequential firing when available
- Fire rate: allow the feed mechanism to present each staple cleanly
Hold the mesh flat and fix it in a steady sequence
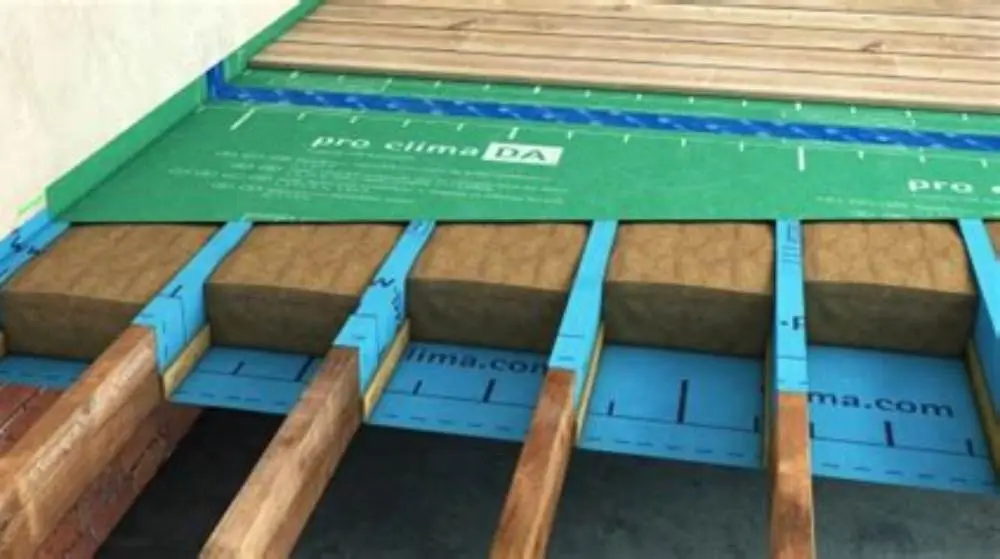
Keep this section as your only tension check. Support the mesh so it lies flat against the timber without wrinkles or loose folds.
Use a helper, clamp, or temporary fixing where needed. Do not pull the mesh so hard that the openings distort around each staple.
Place the gun square to the timber. A perpendicular nose lets the driver meet the staple evenly and reduces bent legs.
Work from the centre of a run towards its edges. This lets you control slack instead of pushing it into the last section.
Follow the netting maker's fixing pattern and spacing instructions. If none are supplied, test the planned spacing on scrap and pull the mesh by hand after firing. Add fixings where the mesh lifts or pulls free.
Inspect each crown before moving on. Remove a proud or bent staple with pliers after disconnecting the tool, then correct the cause before firing again.
- Disconnect the tool before loading or clearing it.
- Hold a small mesh sample flat over suitable scrap.
- Set the lowest power that gives a full clinch.
- Fire with the nose square to the timber.
- Check the crown, mesh, and timber after every test.
- Follow the product fixing pattern on the real installation.
Use a hammer tacker when the mesh keeps tearing
A hammer tacker and an electric gun use different driving methods, so neither is automatically better. Choose after checking the mesh, fixing specification, and working position.
A hammer tacker can suit thin mesh when controlled individual blows prevent repeated tearing. It still needs the correct staple or capped fixing for the tool.
Capped staples spread pressure over a larger area than a narrow crown. That can reduce puncture damage, but the cap must suit the netting and the approved fixing method.
An electric gun can save time on long runs when the mesh is strong enough and the operator can keep the nose square. Its speed does not compensate for incompatible staples or poor access.
Compare tools on a small sample. Record torn mesh, proud crowns, pull-out, and jams after the same number of fixings. Follow the netting manufacturer's instructions if they specify a tool or fixing type.
Stop using the electric gun if the same mesh tears after correct staples, low-power testing, and square firing. A different fixing system may be safer for that material.
- A hammer tacker gives individual impact control
- Capped fixings can spread pressure across mesh
- An electric gun can save time on suitable mesh
- Hammer tackers can require more effort
- Capped fixings may cost more and need a compatible tool
- Electric guns can jam when staple or mesh specifications do not match
Clear jams safely and check the feed system
Disconnect the battery or power before opening the magazine. Keep the nose pointed away from people, and wear eye protection.
Remove the staple strip and any loose fragments with pliers. Do not force a driver that remains stuck. Follow the service instructions for your model.
Clean the magazine channel only as the manual permits. Excess oil can collect dust and interfere with feeding. Never alter the magazine or file the guide rail.
Check the pusher spring and feed pawl. The strip should move smoothly and stop in the correct position before the driver. A spring that no longer pushes the strip forward needs replacement.
Check the magazine for dents or separation. A rail that pinches the strip can create repeated jams at the same point.
Reload one approved strip and repeat the bare-scrap test. Send the tool for service if the fault remains after cleaning and correct loading.
- Remove power before clearing the nose or magazine
- Use pliers for trapped staples, not fingers
- Check the pusher, feed pawl, and magazine rail
- Repeat the bare-scrap test after every repair
Quick questions
How do I tell if the jam is from the staples or the gun?
Use the approved strip in bare scrap timber. A jam without mesh points to the tool or strip. A clean bare test followed by a mesh jam points to crown fit, mesh movement, or firing angle.
How do I choose staple dimensions without the manual?
Find the model number and request the maker's staple chart. If that is impossible, use no unverified dimensions. A staple that fits the magazine can still damage the tool or fail to feed.
How do I choose leg length?
Select a leg slightly shorter than the timber thickness, then test two staples in scrap. Look for a full clinch, secure hold, and no protrusion. Follow the manual if it gives a different limit.
What power setting should I use?
Start at the lowest setting. Increase it one step only when the staple does not penetrate or clinch. Lower it if the mesh tears, the timber splits, or the crown sinks too far.
Should I follow a fixed spacing?
Follow the netting maker's fixing pattern. If no pattern exists, test pull-out and mesh lift on scrap before choosing a spacing for the installation.
When should I use a hammer tacker?
Test one on a small mesh sample when the electric gun keeps tearing or jamming with approved staples and correct settings. Choose the tool that gives secure fixings without mesh damage.