Build a rainwater soakaway that drains properly, even in clay soil or after downpours, with the right depth, crate spec and percolation test.
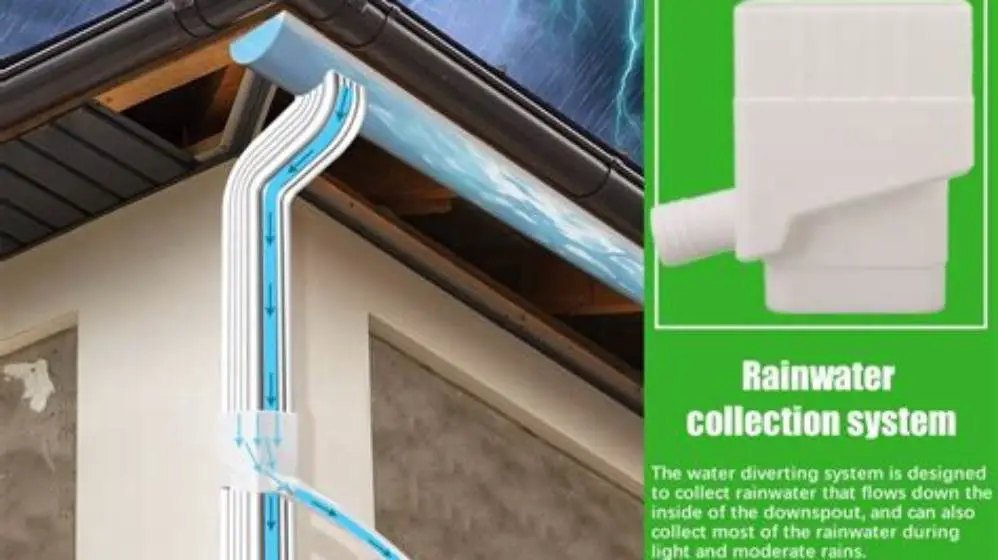
Dig a pit 1 to 1.8 metres deep, at least 5 metres from the house, line it with geotextile, fill with crates or clean gravel, wrap the membrane and connect the downpipe with 110 mm pipe sloped 1 in 80.
On this page
- The short version
- Test the ground before you commit to a soakaway
- How to construct a soakaway for rainwater
- Size the pit to store one hour of roof runoff
- Soakaway pit not draining after heavy rain
- Soakaway in clay ground failing within months
- Maintenance and signs the soakaway is working
- Questions people still ask
Part of our guide on identifying causes of low flow
Most soakaway failures trace to clay soil that was never tested or a pit half the size it needed to be from day one.
| Minimum distance from house | 5 metres |
|---|---|
| Typical pit depth | 1 to 1.8 metres |
| Clay percolation threshold | below 0.02 m/s fails |
| Crate void ratio | around 95 per cent |
| Design storm duration | 1 hour minimum |
| Geotextile weight | 140 g/m² or heavier |
The short version
- Run a percolation test before you dig: clay below 0.02 m/s needs a bigger pit or land drains
- Size the pit to store at least one hour of roof runoff, typically 1 to 1.8 m deep and 1 to 2 m³ volume per 50 m² of roof
- Wrap crates or gravel in geotextile and backfill with free-draining soil, never clay
- A soakaway that floods after heavy rain is undersized or sited in clay that can't shift water fast enough
- Fix clay failures by adding land drains radiating from the pit or digging a rubble trench if percolation is too slow
Test the ground before you commit to a soakaway
A soakaway works only if the ground beneath it can absorb water faster than rain delivers it. Clay soil often cannot. You find out by running a percolation test before you dig anything. Dig a trial hole 300 mm square and 300 mm deep below the level where the base of your soakaway will sit, usually another metre down. Fill the hole with water and let it drain completely, then refill it and time how long the water takes to drop by 150 mm. That figure in seconds divided into 150 gives you the drainage rate in millimetres per second; divide by 1,000 for metres per second.
Clay ground drains at 0.01 to 0.02 metres per second when it drains at all. Sandy soil manages 0.05 to 0.15 m/s, and gravel twice that. If your test comes back slower than 0.02 m/s, a standard soakaway will flood every time it rains hard. You need a much larger pit, land drains radiating outward to spread the load across a wider area, or you abandon the soakaway idea and dig a rubble-filled trench that drains slowly over days instead of hours.
Run the test in winter or after heavy rain. Dry summer soil drains faster than saturated winter clay, and a soakaway sized for August will back up in January. If the trial hole stays full for six hours or more, the ground has failed the test outright. Building Regulations Part H calls for a percolation rate that empties the pit within 24 hours of a design storm, but clay that slow leaves you with ponding and a flooded garden.
Some clay subsoils sit on top of free-draining sand or gravel. If your test hole reveals a clay layer only 400 to 600 mm thick, digging deeper to reach the sand beneath solves the problem. If clay extends past two metres, you are stuck with it and must design around it. Before you commit to anything, it is worth looking at rainwater downpipe blocked at gutter outlet.
How to construct a soakaway for rainwater
how to construct a soakaway for rainwater. Mark out the pit at least 5 metres from the house and 2.5 metres from a boundary. Stay at least 15 metres from a well or borehole. Keep clear of drains and service cables.
Dig the pit 1 to 1.8 metres deep. Typical domestic pits are 1.5 to 2 metres square. Line the hole with geotextile membrane, grade 140 g/m² or heavier. Leave overhang to wrap the top after you fill it.
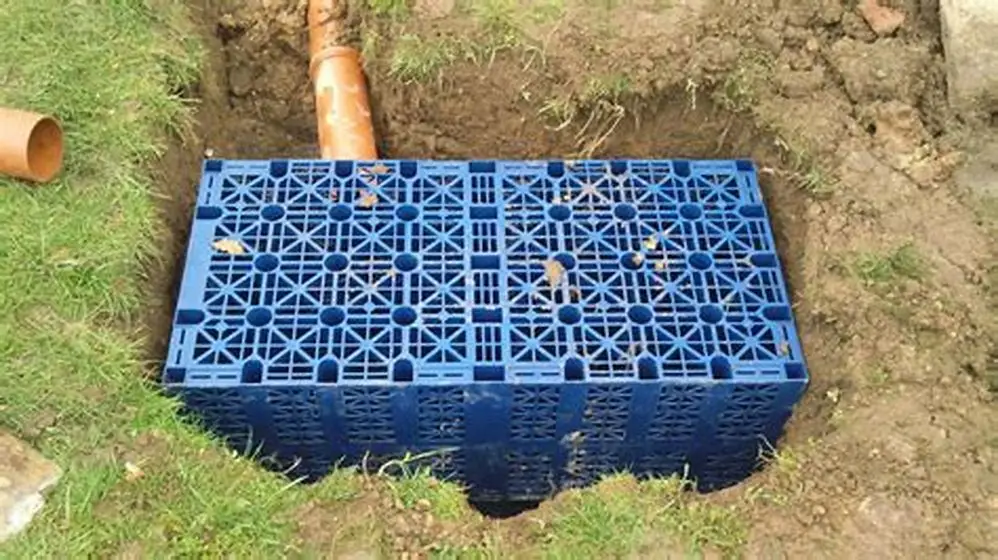
Place plastic soakaway crates on the membrane base. Crates give a 95 per cent void ratio. That stores nearly the whole internal volume. Gravel gives only 30 to 40 per cent storage and needs three to five times the excavation. We go through sizing rainwater tanks by roof area step by step elsewhere on the site.
Connect the downpipe with 110 mm underground pipe, sloping at least 1 in 80. Bring the inlet into the side or top of the crate stack, not the base. If the run exceeds 10 metres, fit a rodding eye halfway.
Wrap the geotextile over the crates, overlapping by at least 300 mm. Backfill with free-draining excavated soil. If you dug clay, backfill with imported topsoil and clean 20 to 40 mm gravel. Compact lightly in 300 mm layers.
- Dig the pit to the required depth and width. Keep sides vertical or battered for safety.
- Line the excavation with geotextile membrane, leaving overhang on all sides.
- Place plastic crates on the base and stack to the top of the pit.
- Connect the inlet pipe into the side of the stack and seal with a grommet if fitted.
- Wrap the geotextile over the top, overlapping edges by at least 300 mm.
- Backfill with free-draining soil or gravel, compacting lightly every
300 mm. - Replace topsoil and turf and mark the soakaway location for maintenance.
Size the pit to store one hour of roof runoff
A soakaway must hold the water that arrives during a design storm while the ground slowly absorbs it. UK Building Regs use a one-hour storm with a 1-in-10-year return period as the minimum. That delivers roughly 12 to 15 mm of rain in an hour, depending on location. Multiply your roof area in square metres by 0.015 to get the volume in cubic metres. A 100 m² roof needs at least 1.5 m³ of storage. Double that figure if your percolation test came back slow, or if the soakaway also takes patio or driveway runoff. We cover using carbon filters for potable water in its own article.
Crates with a 95 per cent void ratio store almost their entire volume, so a 1.5 m × 1.5 m × 1 m deep pit holds 2.1 m³ of crates and 2 m³ of water. Gravel at 35 per cent voids needs three times the excavation for the same storage. Clay ground that drains slowly needs extra capacity because water backs up faster than it drains. If your percolation rate is marginal, add 50 per cent to the calculated volume or spread the load with land drains.
Undersizing is the most common cause of soakaway failure. A pit designed for a small storm floods when a big one arrives, and once waterlogged it takes days to recover. By then the next rain has topped it up again. Err generous. A soakaway that is too large just means the water level never rises past halfway, and that is no problem at all.
Check the water table depth before you dig. A soakaway base must sit at least 1 metre above the highest seasonal water table, or it will flood from below in winter and never drain. Dig your percolation test hole in midwinter or early spring when the table is highest. If groundwater seeps in before you reach the planned depth, move the soakaway or abandon it. There is more on rainwater diverter installation guide in a separate guide.
| Roof area (m²) | Rain in 1 hour (litres) | Crate volume (m³) | Gravel volume (m³) |
|---|---|---|---|
| 50 | 750 | 0.8 | 2.5 |
| 75 | 1,125 | 1.2 | 3.5 |
| 100 | 1,500 | 1.6 | 4.5 |
| 150 | 2,250 | 2.4 | 6.5 |
Soakaway pit not draining after heavy rain
A soakaway that floods after a heavy shower is usually undersized or surrounded by saturated ground. Clay cannot take more water than its percolation rate allows.
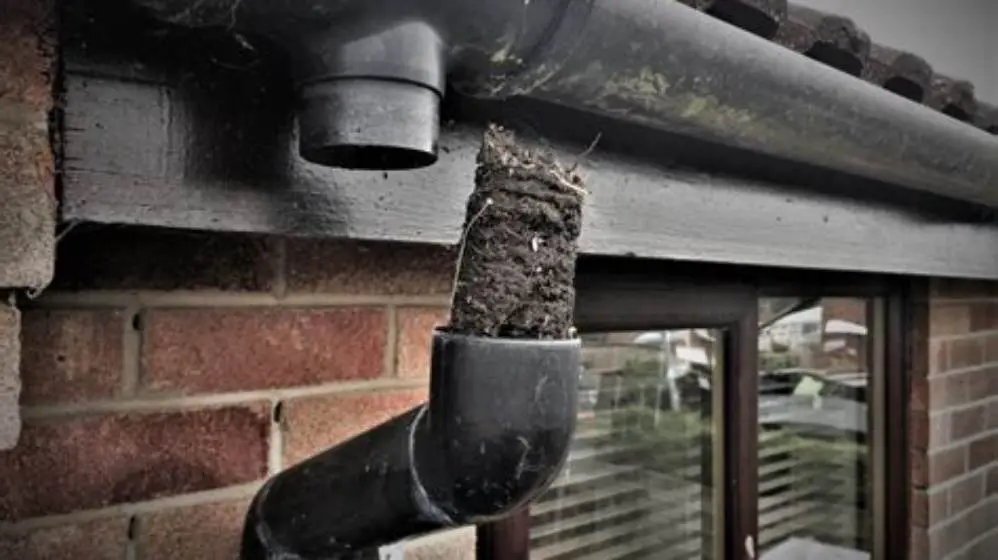
If the pit fills and takes more than 24 hours to empty, the volume or drainage face is too small. Check the inlet pipe first. Clear leaf debris, silt and moss from the downpipe and inlet.
Clay that drains at 0.01 m/s shifts 36 litres per hour per square metre of drainage face. A soakaway with 6 m² of drainage area handles 216 litres per hour. A 100 m² roof in moderate rain gives 150 litres per hour. A heavy shower can deliver 500 to 1,000 litres in the same time. We cover calculating wetland size for home in its own article.
Fix it by increasing storage volume or adding land drains. Dig trenches 600 mm deep and 10 to 15 metres long. Lay 100 mm perforated pipe in gravel. Wrap the pipe with geotextile and connect back to the soakaway. Three or four drains arranged like spokes spreads the load.
Soakaway in clay ground failing within months
Clay subsoil causes most soakaway failures. Clay has tiny particles that pack tightly and drain slowly. When wet, clay swells and seals; when dry, it cracks and drains faster.
You cannot change clay's percolation rate. Increase the drainage area instead. Add land drains or dig a much larger pit so more soil contacts the water. Doubling the diameter gives four times the drainage surface.
If a trial hole shows heavy clay for 600 to 800 mm then a free-draining layer below, set the base in that layer. Most drainage happens through the base. If clay continues deeper than 1.8 to 2 metres, further digging is impractical and unsafe without shoring.
When percolation is under 0.01 m/s or trial holes stay full overnight, use a rubble-filled drainage trench. Dig 600 mm deep and 20 to 30 metres long. Fill with 75 to 150 mm broken brick or stone, wrap in geotextile, and connect the downpipe. The trench stores water and releases it over days rather than hours. Mark the trench so nobody drives over it or plants deep-rooted shrubs above.
Maintenance and signs the soakaway is working
A working soakaway drains within 24 to 48 hours of heavy rain and leaves no standing water on the surface. Check it after a storm by lifting the inspection cover or digging down to the crate tops. Water should sit below the inlet pipe level within a day. If it takes longer, the pit is undersized or the ground is too slow. If water never appears inside the pit, the inlet pipe is blocked or the downpipe is draining somewhere else.
Clear gutters and downpipes twice a year, in autumn after leaf fall and in spring. Silt and organic debris clog the geotextile membrane and reduce the void space inside the crates. Fit a leaf guard at the top of the downpipe or a gully trap before the inlet to catch debris before it reaches the soakaway. A filter costs £10 to £30 and adds five years to the life of the pit.
Soakaways have no moving parts and need little maintenance if built correctly. Expect 15 to 25 years of service before silt and root infiltration reduce capacity enough to need excavation and cleaning. Land drains last a similar time if wrapped properly. Once the geotextile clogs and the voids fill with fine sediment, you cannot flush it clean; you dig it out and rebuild. That is why getting the design and percolation test right at the start matters so much.
If your soakaway floods regularly despite being sized correctly, the water table has risen or new hard surfaces have been added upstream. A neighbor paving their drive or extending their roof can overload a shared soakaway. Building Regulations require separate drainage for each property, but older houses sometimes share. Check who else connects to your pit and whether upstream changes have increased the runoff.
Questions people still ask
Can I use a soakaway if my garden is on a slope?
Yes, but site the pit downslope of the house so runoff does not flow back toward the foundations. A slope drains faster than flat ground because gravity pulls water sideways through the soil. Avoid placing the soakaway at the lowest point where groundwater collects; that spot is already saturated and will not drain a soakaway. Mid-slope is usually best.
How deep can I dig a soakaway without shoring the sides?
In firm soil, you can safely dig to around 1.2 metres with sloped sides. Beyond that, vertical sides risk collapse and you need trench support or battered excavation. Most domestic soakaways stay between 1 and 1.5 metres deep, which is enough volume for a typical roof and safe to dig. Anything deeper than 1.8 metres should be left to contractors with shoring equipment.
What if my soakaway is too close to the house already?
A soakaway within 5 metres of the foundations can saturate the ground and cause subsidence, especially in clay. If it is flooding, fix the blockage or add land drains to move water away from the house. If it is working, monitor for cracks in walls and damp patches in the basement. In the long term, consider building a replacement further out and decommissioning the old pit by filling it with compacted gravel.
Can I connect a washing machine or sink waste to a rainwater soakaway?
No. Building Regulations require foul water and surface water to stay separate. Rainwater soakaways take only clean runoff from roofs, patios and drives. Washing machine waste, sinks, and toilets must go to a foul drain or septic tank. Mixing the two is illegal and can contaminate groundwater. Some older houses have combined drainage, but new work must separate them.
Do I need planning permission or Building Regs approval for a soakaway?
You do not need planning permission, but Building Regulations Part H applies if you are installing new drainage or altering existing surface water disposal. Most local authorities accept a soakaway built to the BRE Digest 365 standard without formal approval, but commercial or large domestic projects may need certification. Check with your local building control before you dig if the property is near a watercourse, in a flood zone, or if the soakaway serves more than one dwelling.