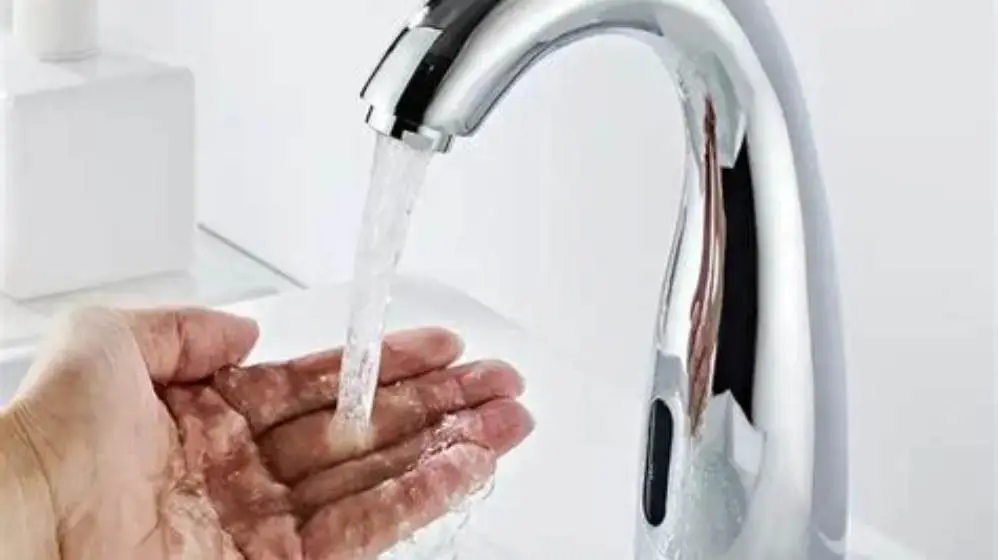
A solenoid valve is normally closed: with its power removed it must shut. If the tap still flows after you isolate the power for 10 seconds, the sensor and timer are innocent. The diaphragm or valve seat is jammed open by scale or grit, and no controller change will fix it.
On this page
- Quick recap
- Why a solenoid valve is normally closed: and what power off really means
- Sensor tap keeps running after hands removed: start with the isolation test
- Still flowing with the power off: the diaphragm is held open
- Shuts with the power off: the sensor was commanding the valve
- Push-button timed tap that will not end its cycle
- Coil continuity, hard-water scale and knowing when to replace the tap
- Quick questions
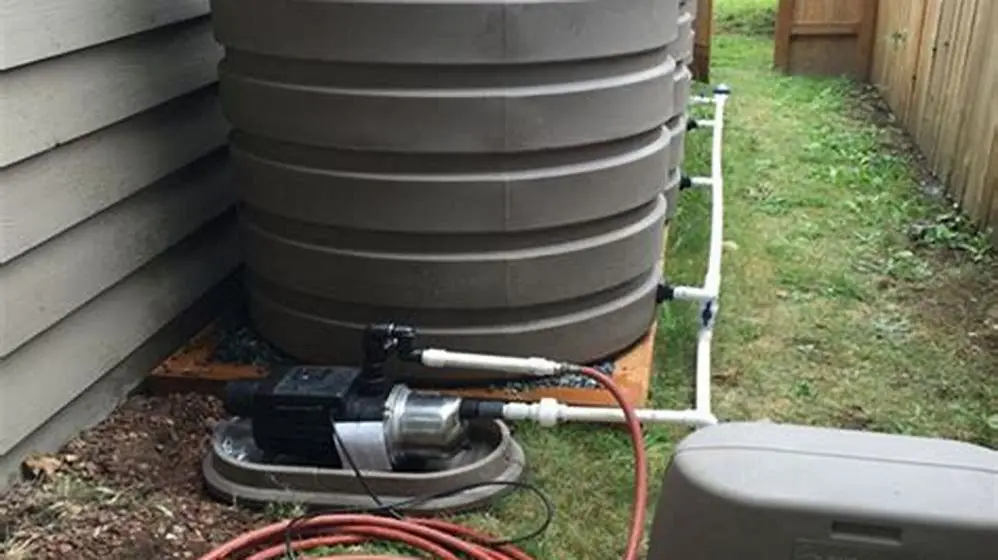
Part of our guide on low pressure water pump for garden
Quick facts
- Isolation test time
- 10 seconds
- Solenoid default state
- Normally closed
- Battery sensor tap supply
- 4 × AA, 6V
- Typical sensor timeout
- Check your model's datasheet
- Push-button cycle length
- Set by timer board
- Coil resistance, healthy
- Check valve label or service data
- UK hard water descale interval
- Every 3–6 months
Quick recap
- Isolate the valve's power, wait 10 seconds: still flowing means a mechanical jam, shutting cleanly points to a false command.
- The valve physically holds or releases water, not the sensor.
- A flushing or override screw left open mimics a jammed diaphragm; check it before opening the body.
- Cover the sensor window with tape: if the flow stops after the timed delay, the sensor is latching on reflection or film.
- An open-circuit coil reads as no flow at all: a tap that will not run, not one that will not stop.
Why a solenoid valve is normally closed: and what power off really means
Every automatic tap controls water through the same type of valve: a solenoid. Inside sits a spring-loaded plunger pressed against a rubber diaphragm. The spring holds it shut. When the coil is energised, the plunger lifts and water passes. Remove the power and the spring wins again, snapping the valve closed. This is what 'normally closed' means physically: no electricity, no flow, without any decision being made by a sensor or a timer.
That default state is the whole basis of the diagnosis on this page. If the valve is designed to fail shut, then a tap that keeps running with no power is not being commanded by anything: it is being held open mechanically. A tap that stops when power is removed must have been receiving a false command, because the valve itself can close.
What 'power off' physically means depends on the tap. On a battery sensor tap it is simply the four AA cells: unclip the battery pack and the valve has no supply at all. On a 6V plug-in module, pull the adapter from the socket. On a mains-fed push-button tap, the valve coil runs from a small transformer or timer board. Switch off the fused spur or unplug the transformer under the basin. Mains-fed taps carry 230V at the transformer and inside the module; isolate at the fused spur before you touch any terminal. In every case you want the coil itself dead, not just the sensor dark.
Sensor tap keeps running after hands removed: start with the isolation test
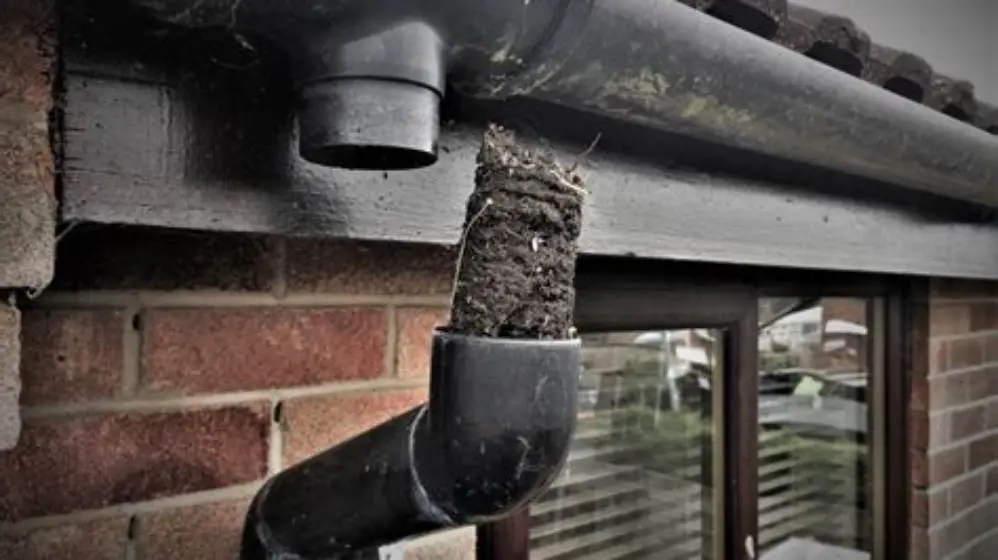
The search 'sensor tap keeps running after hands removed' brings up the same three guesses on every forum: dirty sensor, dead battery, broken valve. Two of those are controller problems and one is a valve problem, and nobody tells you which you have. The isolation test settles it in ten seconds without any tools beyond a screwdriver for the battery cover. Before you commit to anything, it is worth looking at rainwater downpipe blocked at gutter outlet.
Run it in this order. First, isolate the valve's power supply: pull the battery pack or unplug the adapter. Second, wait a full 10 seconds. A sensor module can hold its output for a short latch period, and a charged capacitor in some modules takes a moment to drain. Third, watch the spout. If water is still running with the coil completely dead, you are in Branch A below. The diaphragm is held open by scale, grit or an override screw. The sensor is entirely innocent. If the flow stops cleanly, you are in Branch B. Something was commanding the valve to stay open. The usual suspects are the sensor, its power supply or (on push-button taps) the timer relay.
The result you get is final for that moment in time. A tap that shuts with power off can still develop a mechanical jam later, and a tap that keeps flowing can have a sensor problem hiding behind the jam. For the fault in front of you, the ten-second test gives a definitive fork. Everything that follows in this article hangs off that one reading.
- Isolate the valve's power supply (battery pack, adapter or fused spur).
- Wait a full 10 seconds for any latch or capacitor to discharge.
- Watch the spout: still flowing points to a mechanical jam; shutting cleanly points to a false command.

AstroAI Digital Multimeter Tester 2000 Counts with DC AC Voltmeter and Ohm
Splits a dead tap module from a dead coil on your push-button tap: it reads DC volts and resistance and has a continuity buzzer, so you can hear whether the coil circuit is intact before buying parts.
Still flowing with the power off: the diaphragm is held open
A solenoid that keeps passing water with no power is not closing because something is physically preventing the spring from seating the plunger. In hard-water areas, limescale is the most common cause. Scale builds up on the valve seat and around the diaphragm edge until the rubber cannot make a seal. A fragment of solder, a bead of flux or a grain of swarf left over from installation does the same job overnight. The spring is doing its work; the diaphragm simply cannot reach home. The other half of this decision is valve leak troubleshooting.
Before you open the body, check the cheap explanation. Many commercial sensor taps carry a flushing or override screw on the valve body. It is a small slotted screw, often hidden under a plastic cap, which holds the valve open during commissioning so pipework can be flushed. It is routinely left open by a hurry-up installer. The resulting symptom is exactly this: a tap that runs continuously regardless of hands, sensors or power. Screw it fully closed and the fault disappears. Check it first because it costs nothing and it is the single most common cause of a brand-new tap that will not stop.
To confirm the diagnosis without opening anything, close the isolating valve under the basin or the service valve on the supply. If the flow slows to a dribble and then stops, the passage is merely obstructed-but-open, consistent with a jammed diaphragm. If you then dismantle the valve body (usually two or four screws on top) you will find the diaphragm and seat. Descale both, flush the chamber, check the rubber edge for nicks, and reassemble with the override screw closed. Vinegar works on scale, but a proper valve-seat descaling kit or a pot of citric acid solution does the job faster and leaves no smell in a small bathroom.
| Symptom | With power off | Likely cause | Fix |
|---|---|---|---|
| Runs continuously | Still flowing | Jammed diaphragm or open override screw | Descale seat, close screw |
| Runs continuously | Shuts cleanly | Sensor latching or timer relay welded | Clean lens or replace module |
| Runs then stops after timeout | Shuts cleanly | Normal auto-timeout behaviour | No fault |
| Will not run at all | No change | Open-circuit coil or dead supply | Test coil continuity |
Shuts with the power off: the sensor was commanding the valve
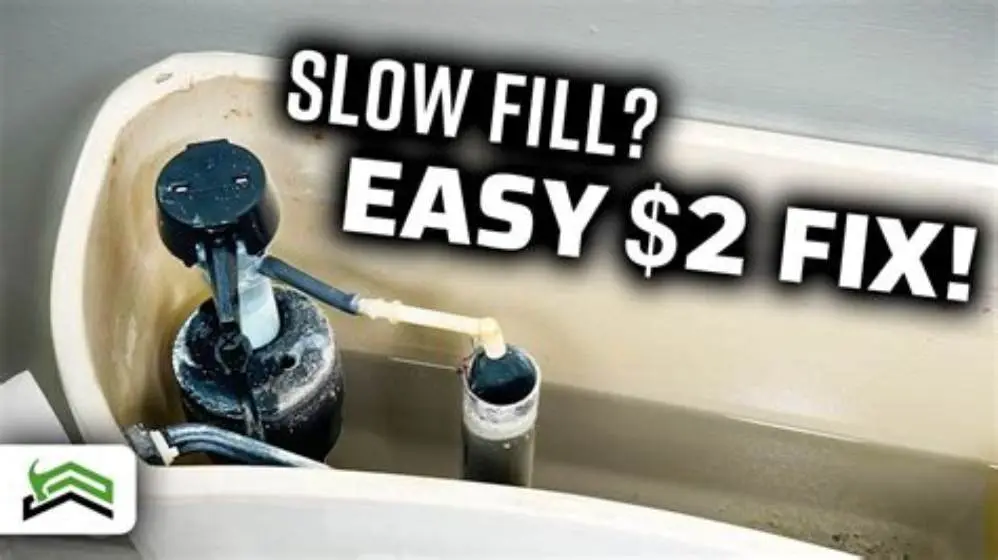
If the flow stops the moment you kill the power, the valve is healthy. Something upstream was telling it to stay open. The first suspect is sensor calibration drift. Sensors adjust their reference constantly. A shiny stainless or white ceramic basin reflects infrared exactly the way a hand does. The sensor sees its own reflection, decides a hand is present, and holds the valve open until the reflection changes or the timeout fires. This is why the fault often appears after a basin is swapped for a glossier one, or after the tap is moved slightly closer to a chrome splashback. It helps to understand fixing pump noise issues before going further.
The second suspect is the lens. Soap film, toothpaste splatter or limescale on the sensor window scatters the infrared beam. It produces exactly the same latching behaviour. Wipe the window with a soft cloth and a drop of vinegar, then test again. Third is supply voltage. As batteries sag, the module's logic becomes erratic: valves flutter, sensors trigger at random, and some boards latch the output high. Your module's installation sheet states the low-voltage lockout threshold. As a rule of thumb on a 6V pack, anything under about 5.4V deserves a fresh set of cells before you blame anything else. A £5 multimeter across the battery terminals settles the question in seconds.
The decisive check for reflection and latching is the cover-the-window test. Put a strip of opaque tape over the sensor window tap is running. If the flow stops after the module's timeout, the sensor was genuinely latching on a false reflection. Repositioning the tap, fitting a matte surround or cleaning the window will fix it. Timeout length is model-dependent. Check your module's datasheet, or measure it yourself by covering the window and timing how long the tap runs. Typical range is roughly 30 to 120 seconds. If the flow continues past the timeout with the window covered, the module's output stage has failed. No amount of sensor hygiene will help.
- Matte finishes do not reflect infrared like chrome and white basins do.
- Clean the sensor window with vinegar before replacing anything.
- Check your module's low-voltage lockout in the installation sheet; around 5.4V on a 6V pack is a useful rule of thumb.
- Tape over the window: timeout-triggered stop proves sensor latching.
Push-button timed tap that will not end its cycle
Push-button and infrared timed taps use the same solenoid valve as sensor taps, but the controller is different: a timer module or small relay board that opens the valve for a fixed cycle, then closes it. Cycle length is set by the timer board. Some boards are adjustable. When one of these will not end its cycle, the isolation test applies in exactly the same way. Branch B now has a different suspect list. A relay on the timer board can weld its contacts shut after years of switching an inductive coil, so the valve stays energised long after the button has done its job. For the detail, see our notes on practical water-saving steps for homes.
The reset test is worth trying before buying anything. Isolate the power to the module for a full 30 seconds, then restore it and press the button once. Many timer boards and latching modules clear a stuck state after a clean power cycle. The tap returns to normal. If the fault returns within a few cycles, the relay contacts are welding or the board's timing capacitor has drifted. The module should be replaced. If the power cycle makes no difference at all and the isolation test showed the flow stops with power off, the module is commanding continuously and is faulty.
Telling a dead module from a dead coil needs the multimeter again. With power restored and the button pressed, measure across the coil terminals. You should read close to the supply voltage: 6V DC on most, 12V or 230V via transformer on commercial units. If the module delivers the correct voltage but the valve does not open, the coil or plunger has failed. If the module delivers nothing, the module is at fault. That single measurement splits the two cleanly and stops you replacing the wrong part.
Coil continuity, hard-water scale and knowing when to replace the tap
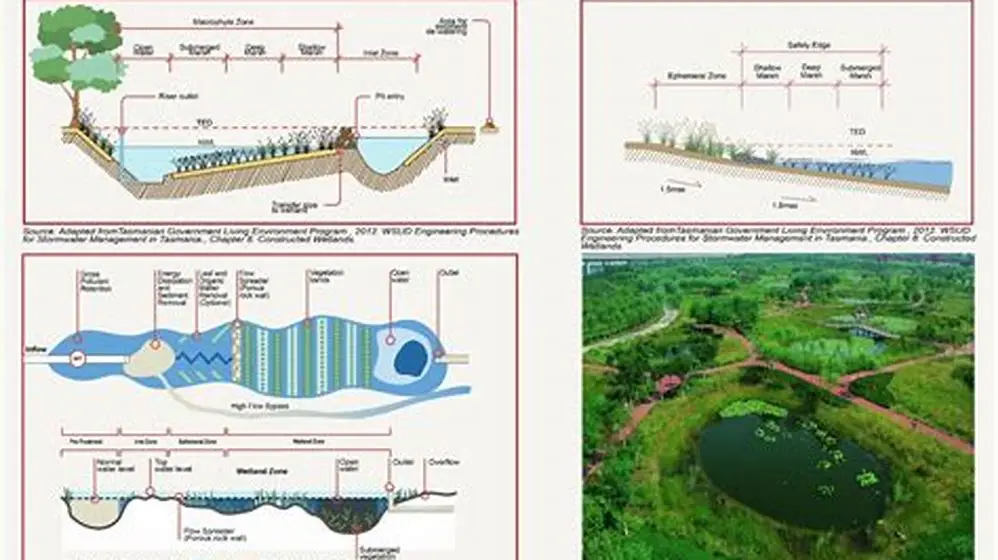
Coil continuity is the tie-breaker when the tap has stopped working entirely. Disconnect the coil's two wires and measure resistance. A 6V DC latching coil on a domestic sensor tap typically measures in the low tens of ohms. Your valve's own label or the manufacturer's service data states the correct figure. An open circuit (the meter reading infinite) means the coil winding has burnt out. That explains a tap that will not pass water at all. It also retroactively confirms the valve was the fault in an earlier over-running episode. Coils often fail short first, holding the valve open and overheating, then fail open permanently. If the resistance reads sensible but the valve will not lift with correct voltage applied, the plunger or diaphragm is seized rather than the coil. We cover calculating wetland size for home in its own article.
Scale deserves its own attention because it mimics other faults at the aerator too. Under UK hard water, an aerator clogged with limescale holds water in the spout after the valve closes. That trapped water drips or dribbles for a minute or two. It looks exactly like a tap that is still running. Unscrew the aerator, soak it in citric acid solution or vinegar for an hour, and the drip usually vanishes. Descale the valve seat the same way. A twice-yearly soak in hard-water areas prevents most of the faults in this article before they start.
Replaceability varies by brand, but the pattern is consistent. Coils are almost always sold separately and screw or clip onto the valve body. Diaphragms and plunger seals are available for major commercial ranges as service kits. Commercial taps generally publish exploded parts diagrams and sell seal kits, so look up your model number on the maker's site. Sensor modules are replaceable on most commercial taps but are frequently glued or proprietary on cheap domestic ones. If the body casting is corroded, the seat is pitted beyond dressing, or a replacement module costs more than a new tap, the body has to go. Before opening anything, always close the service valve under the basin. A solenoid body opened under mains pressure floods a cupboard in seconds.
| Part | Typically replaceable | Part cost tendency | When the tap must go |
|---|---|---|---|
| Coil | Yes, almost always | Cheap | Seat pitted beyond dressing |
| Diaphragm/seal kit | Yes, on known brands | Cheap to moderate | Body casting corroded |
| Sensor module | Commercial: yes; cheap domestic: often not | Moderate | Module cost approaches new tap price |
| Timer board | Some models | Moderate | Proprietary or obsolete boards |
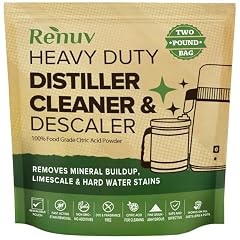
Renuv® Citric Acid for Cleaning & Descaling Water Distillers
Descales the valve seat and aerator on a tap that will not stop running: 2 lb of pure food-grade citric acid you mix with water and leave overnight to dissolve hard-water scale without acid fumes.
Diagnose with the isolation test before buying any part: power off and still flowing is mechanical, shutting cleanly is electrical, and the multimeter settles anything the test leaves open.
Quick questions
How long should a sensor tap run after I move my hands away?
Most shut within a second or two of detection loss. Many have a safety auto-timeout if the sensor keeps seeing something. Timeout length varies by model and typically ranges from 30 to 120 seconds. Check your module's datasheet or measure the delay on your own tap by covering the sensor window. If yours runs past that with the sensor covered, suspect the module rather than the sensor.
Can low batteries make a sensor tap run continuously?
Yes. As a 6V pack sags, sensor modules can latch their output or trigger erratically. Your module's installation sheet states the low-voltage lockout. Around 5.4V on a 6V pack is a useful rule of thumb. Fit fresh batteries before diagnosing anything else: it is the cheapest fix on this page.
Where is the override screw on a sensor tap?
It is usually a small slotted screw on the solenoid valve body, sometimes under a plastic cap. It holds the valve open during commissioning so pipework can be flushed after installation. If it is even slightly open the tap will run continuously regardless of power.
My tap dribbles for a minute after shutting: is the valve broken?
Probably not. A limescale-clogged aerator traps water in the spout and releases it slowly after the valve has closed properly. Soak the aerator in vinegar or citric acid before blaming the solenoid.
Is it safe to open the valve body myself?
Yes, once the service valve under the basin is closed and the power is isolated. Open the body slowly to release residual pressure. Photograph the diaphragm orientation before removing it so it goes back the same way round.
How do I tell a latching tap from a timed tap?
A latching tap opens when you present your hands and closes when you remove them, with an auto-timeout as a safety. A timed tap opens for a fixed cycle (set by the timer board) and then closes regardless of whether your hands are still there. If your tap runs for a fixed duration every time, that is normal timed-tap behaviour, not a fault.