Plan a staged retrofit for your 1930s home focusing on insulation, glazing, and heating upgrades for balanced cost and savings.
Start retrofitting a 1930s home by insulating the loft with 250-300mm mineral wool, sealing leaks in walls, then upgrade single-pane windows before replacing the boiler. This staged approach balances disruption and cost while maximizing energy savings.
On this page
- Key takeaways
- What is a retrofit in construction
- How to retrofit a house on a tight budget starting with cold loft and leaky walls
- Energy retrofit for a 1930s semi with single-pane windows
- How to stage retrofit glazing and heating when on two incomes sabbatical
- Which retrofit saves more first: boiler replacement or attic insulation
- Measurements to take before planning a boiler upgrade retrofit
- Checklist to decide if retrofit heat pump now or after loft insulation
- Staged solar PV and battery retrofit for terraced house with low budget
- Where to find local installers who accept retrofit grants
- Questions people still ask
Part of the guide: Heat pump retrofit in London: costs, installer tips, and home checks
A clear, staged retrofit plan prioritizes insulation, sealing, glazing, then heating upgrades to cut energy costs and disruption in 1930s homes.
| Loft insulation depth | 250-300mm |
|---|---|
| Window upgrade type | Double glazing |
| Typical heat loss walls | 30-40% |
| Boiler sizing check | After insulation |
| Retrofit disruption | Staged approach |
| Grant installer | Local retrofit scheme |
Key takeaways
- Prioritize loft insulation to 250-300mm depth for biggest heat retention.
- Seal leaks in walls to reduce drafts before upgrading windows.
- Replace single-pane glazing with double-glazed units next for comfort and savings.
- Delay boiler upgrade until after insulation to size heating correctly.
- Use energy and air tightness measurements to guide retrofit stages.
What is a retrofit in construction
A retrofit in construction means adding or upgrading features in an existing building to improve energy efficiency, comfort, and reduce carbon emissions without full rebuilding. It focuses on sealing leaks, adding insulation, upgrading heating systems, and improving windows and ventilation.
This differs from new builds by working within the constraints of older materials and layouts, often requiring staged work to balance cost and disruption. Retrofit can mean replacing inefficient single-glazed windows with double-glazing or insulating loft spaces that originally had none.
For 1930s homes, retrofitting typically targets known weaknesses such as thin or uninsulated walls, cold lofts, and inefficient boilers, aiming to reduce heat loss by 20-50% depending on measures taken.
How to retrofit a house on a tight budget starting with cold loft and leaky walls
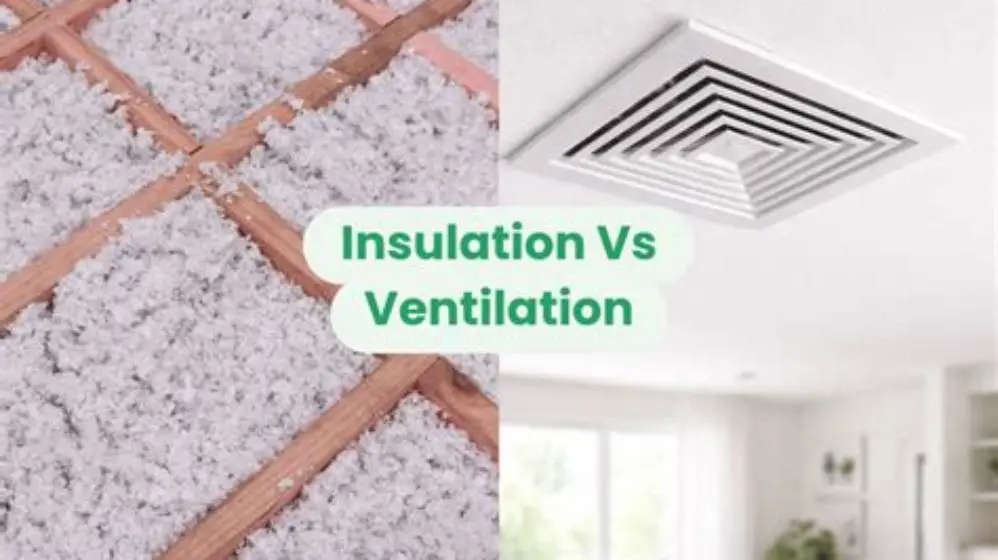
Begin by installing loft insulation to a depth of 250-300mm, typically using mineral wool or rigid boards, to reduce heat loss through the roof by up to 25%. This requires minimal disruption and is the cheapest effective first step. We go through cold retrofit insulation causes step by step elsewhere on the site.
Next, identify air leaks in walls and around windows using a smoke pen or blower door test to locate drafts. Sealing gaps with foam or caulk can immediately improve comfort and reduce heating demand by about 5-10%.
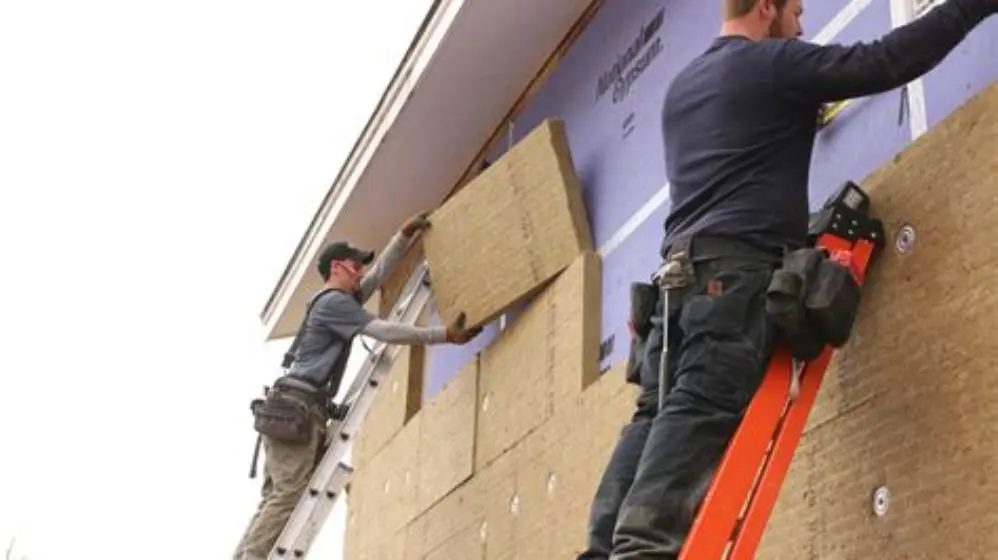
Internal wall insulation or external insulation panels often cost more and disrupt occupants. Prioritize sealing before adding insulation layers if budget is constrained.
This staged approach means you spread cost across seasons or years and avoid overhauling the heating system before the fabric is improved, avoiding oversized boilers. We cover how to install retrofit windows in its own article.
- Loft insulation: 250-300mm mineral wool for best heat retention
- Air sealing: use smoke test to find leaks
- Wall insulation: internal or external, staged after sealing
- Budget: start cheap, invest in bigger steps later
Energy retrofit for a 1930s semi with single-pane windows
1930s semi-detached houses commonly have single-pane windows that lose 10-25% of heat through glazing alone. Upgrading to double-glazed units with low-emissivity coatings reduces heat loss by around 50-70% on windows.
Start glazing retrofit after loft insulation and sealing because investing in better windows before the fabric is improved wastes some potential savings.
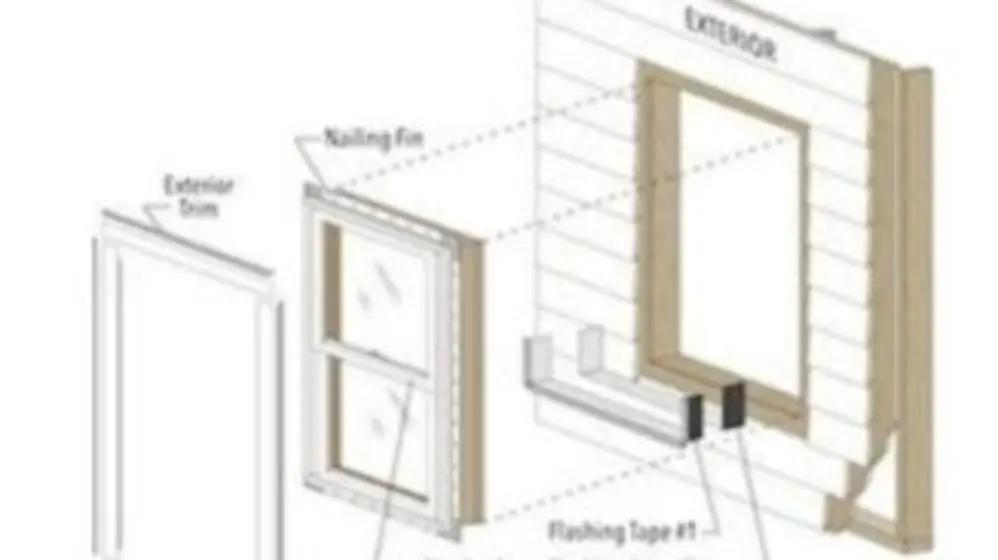
Choose sealed double-glazed units with good window frame insulation (u-values around 1.4-1.8 W/m²K). Consider sash windows’ appearance and use draft-proofing strips to enhance performance.
Expect window replacement disruption to last 1-3 days per room, so plan work during sabbaticals or when multiple incomes cushion loss of comfort.
How to stage retrofit glazing and heating when on two incomes sabbatical
When your household temporarily has two incomes or you have a sabbatical, plan retrofit stages to concentrate work into disruption windows while ensuring continued comfort and savings.
Phase 1: Complete loft insulation and air sealing immediately to reduce heating demand. This phase usually takes one weekend and requires no major upheaval.
Phase 2: Schedule window replacement in a targeted way, room by room, over 1-2 months. This reduces the risk of heat loss during glazing change and allows financial spreading.
Phase 3: After fabric upgrades, replace the old boiler using measurements taken post-insulation to size it correctly, optimizing fuel efficiency and avoiding oversizing.
- Install or upgrade loft insulation.
- Seal drafts using smoke test and caulking.
- Replace windows with double-glazed units.
- Measure heating demand after insulation for boiler sizing.
- Replace boiler with correctly sized unit.
Which retrofit saves more first: boiler replacement or attic insulation
Attic insulation to 250-300mm can save up to 25% on heating bills instantly by reducing heat escaping through the roof. It costs less and disrupts less than a boiler replacement, making it a better first step financially.
Replacing an old boiler with a condensing model improves efficiency by 10-20%, but if the house is leaky or uninsulated, much of that gain is wasted heating lost air.
In most 1930s homes, insulating attic before boiler replacement yields greater total savings. However, if your boiler is failing or over 15 years old, a combined approach may be needed.
Check your heating bills and boiler age to prioritize: above 15 years old and failing means boiler may need urgent replacement despite insulation benefits.
| Measure | Typical % Heating Bill Saved | Cost Range | Disruption Level |
|---|---|---|---|
| Attic Insulation 250-300mm | 20-25% | Low | Low |
| Boiler Replacement | 10-20% | Medium-High | Medium |
- High immediate savings
- Low cost and disruption for insulation
- Boiler replacement costlier
- Boiler less effective if uninsulated house
Measurements to take before planning a boiler upgrade retrofit
Measure your home's heat loss after insulation and sealing upgrades to size a new boiler correctly. This avoids oversizing, which wastes fuel and money.
Use a heat loss calculator or hire a professional to measure wall, window, floor, and roof insulation levels, plus air leakage via blower door testing.
Record your current boiler’s output capacity and fuel consumption to compare with the expected demand after fabric upgrades.
Collect data on hot water usage and heating zones to ensure the boiler system matches household needs efficiently.
Without these measurements, you risk installing a boiler with capacity 20-40% higher than necessary, increasing upfront and running costs.
- Heat loss from walls, windows, floor, roof
- Air leakage rate from blower door test
- Current boiler output and fuel use
- Hot water demand patterns
- Heating zone requirements
Checklist to decide if retrofit heat pump now or after loft insulation
Heat pumps work most efficiently in well-insulated homes with airtight envelopes to maintain steady temperatures at lower flow temperatures.
If your loft insulation is below 150mm or your walls are uninsulated, installing a heat pump first may lead to overheating or excessive running costs.
Install loft insulation to at least 250mm and seal drafts before heat pump installation to ensure the system runs efficiently and delivers expected savings.
If the budget allows, prioritize fabric retrofit first; if time is critical, a hybrid approach with interim boiler use may work.
Use an energy assessor to model heat pump performance based on your current insulation levels to inform this staging decision.
- Insulation under 150mm: retrofit fabric first
- Airtightness below 1ACH needed for efficiency
- Heat pump running cost rises with leaks and poor insulation
- Hybrid system option if immediate heat pump needed
- Heat pump efficiency maximized by insulation first
- Lower running costs when staged properly
- Delay in heat pump benefits if fabric retrofit slow
- Hybrid systems add complexity and cost
Staged solar PV and battery retrofit for terraced house with low budget
Start with installing a small solar PV system (1-2 kW) sized to your typical midday electricity use to minimize upfront costs and fit roof constraints typical in terraced houses.
Next, add a battery storage system around 2-4 kWh capacity to increase self-consumption of generated electricity, reducing grid imports and saving bills.
Install smart meters to track generation and consumption for optimizing battery use and plan future capacity increases.
Coordinate solar retrofit with other energy improvements to ensure battery capacity matches reduced heating loads and appliance demands.
Most low-budget retrofits phase solar PV first, then battery, to avoid high initial investments and leverage grant programs that change over time.
| Stage | System Size | Typical Cost Level | Benefit |
|---|---|---|---|
| Solar PV only | 1-2 kW | Low | Reduces daytime grid use |
| Add Battery | 2-4 kWh | Medium | Stores excess solar for use |
| Expand System | 3-4 kW PV + 6 kWh battery | Higher | Maximizes self-consumption |
Where to find local installers who accept retrofit grants
Local councils and government schemes list accredited retrofit installers qualified to work on insulation, glazing, heating, and renewable energy upgrades with grant support.
Use online directories from official energy efficiency programs or trust organizations that vet installers for quality and grant eligibility.
Check installer membership of retrofit assurance schemes that guarantee workmanship and compliance with grant application rules.
Contact local energy advice centers or retrofit hubs for lists of trusted tradespeople who have successfully completed grant-funded projects nearby.
Selecting grant-approved installers ensures you meet eligibility criteria and avoid losing subsidies or having to repay grant money.
Questions people still ask
Can I retrofit a 1930s home in one step?
Doing all retrofit steps at once is possible but costly and highly disruptive. Staging work over several years reduces budget strain, allows learning from measurements, and avoids oversized heating systems.
How do I know if my walls are insulated?
Use a thermal imaging camera or hire a professional to inspect. Walls from the 1930s often lack cavity insulation unless updated. Some wall insulation types require special approval.
Is it better to replace windows or boiler first?
Generally, improving insulation and glazing first saves more energy, so replace windows before upgrading the boiler. However, a failing boiler older than 15 years may need urgent replacement.
What measurements guide boiler sizing after retrofit?
Heat loss calculation using wall, window, floor, roof insulation levels plus airtightness from blower door tests inform boiler output needs, avoiding oversized units that waste fuel.
Are retrofit grants available for 1930s homes?
Yes, many local and national schemes provide grants for insulation, glazing, heating upgrades, and renewables. Eligibility often requires using accredited installers and meeting minimum performance criteria.