Practical guidance for installing 50mm XPS insulation around cold concrete slab edges to improve thermal continuity and moisture control. Includes checks, compatible products and standards
50mm XPS boards can be used at cold concrete slab edges when installed to maintain damp proof continuity and thermal wrap. Verify slab moisture and the condition of the damp proof membrane (DPM), use suitable adhesives/fixings and tapes, and detail the interface with adjacent insulation or wall systems to avoid thermal bridging.
On this page
- Key takeaways
- Can 50mm XPS be used directly against cold concrete slab edges?
- Consolidated guidance on moisture checks and DPM overlap
- How to install XPS boards around slab edges to prevent moisture and thermal bridging
- Thermal performance expectations and how to treat published figures
- Damaged or missing damp proof membrane: practical options before XPS installation
- Products, adhesives, tapes and fixings — standards and recommendations
- Integrating XPS with other insulation types and wall systems
- Fire safety considerations for XPS at slab edges
- Compatibility notes and typical limitations in UK homes
- Questions people still ask
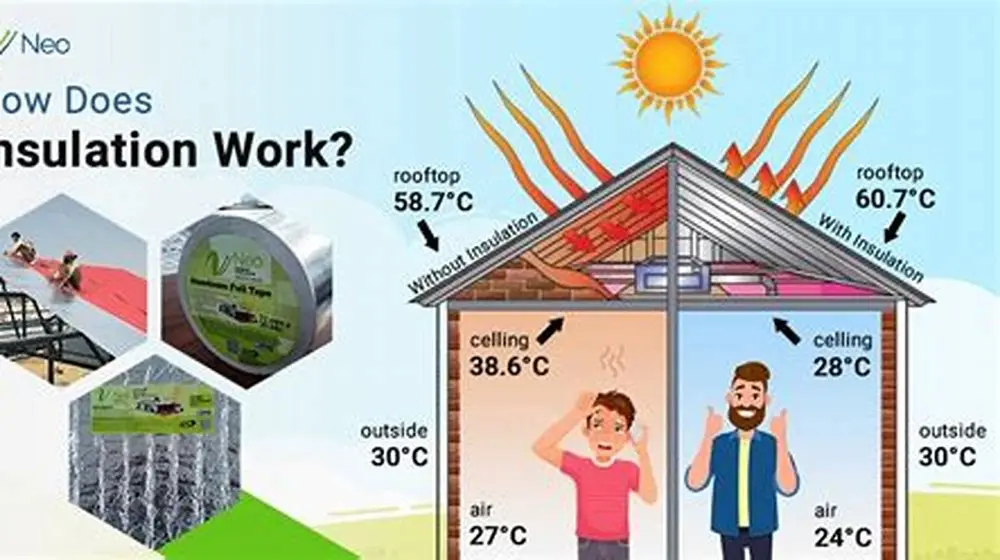
Part of our guide on how does insulation work in a house
Improve thermal continuity and reduce cold spots at slab edges by combining careful moisture control, compliant products and correct detailing for 50mm XPS installations.
| XPS thickness | 50mm |
|---|---|
| Typical DPM overlap guidance | 50mm minimum (industry guidance — see standards note below) |
| Thermal conductivity (typical) | 0.034–0.036 W/mK (per BS EN 13164 manufacturer ranges) |
| Installation temp range | Above 5°C recommended for most adhesives; check product datasheet |
| Typical R-value (50mm) | ≈1.4–1.5 m²K/W (manufacturer data, dry conditions) |
| Moisture check guidance | WME <12% commonly used as an acceptance threshold; site-specific limits may vary |
Key takeaways
- Confirm slab dryness and DPM condition before installing XPS; address any defects first.
- Maintain a continuous damp proof layer and continuous insulation wrapping at slab edges to limit thermal bridging.
- Typical thermal performance figures quoted for 50mm XPS are based on manufacturer data and thermal modelling and should be treated as indicative for a site-specific design.
- Use corrosion-resistant fixings and tapes/sealants proven compatible with XPS and the local environment.
- If the DPM is missing or damaged, repair or replace it (or use an engineering alternative) before fitting XPS.
Can 50mm XPS be used directly against cold concrete slab edges?
Yes — but only after site verification and suitable detailing. XPS (extruded polystyrene) has low water uptake compared with many other insulants and good compressive strength, which makes it suitable for direct contact with concrete in many slab-edge details. However, suitability depends on slab moisture, the presence and condition of any damp proof membrane (DPM), local ground conditions and the need for continuous thermal and vapour control at interfaces.
Before installation, confirm the slab edge is suitably dry and sound. A single, consolidated moisture check (see the Moisture and DPM section below) should be used to decide whether to proceed in-situ or to carry out remedial work. Do not rely on visual inspection alone: where there is doubt, measure with an appropriate meter and corroborate with surface drying observations and, if necessary, laboratory testing (core samples) for high-risk situations.
XPS in contact with concrete should be detailed to maintain a continuous DPM and continuous thermal wrap around the slab edge and adjoining walls. If the DPM or vapour control layer is missing or damaged, this must be repaired or replaced (see 'Damaged or missing DPM' below) before attaching XPS in order to avoid trapping moisture in the structure or the insulation.
In climates or ground conditions where freeze–thaw or high capillary action are possible, protect the edge with an appropriate drainage or protective layer under the XPS (for example a drainage board or a protection board), and ensure the ground is graded and drained away from the slab edge to reduce long-term moisture exposure. If that sounds like your situation, read up on polystyrene thermal performance next.
Consolidated guidance on moisture checks and DPM overlap
To avoid repetition, here is the single location covering both slab moisture checking and required DPM overlap: 1) Moisture check: use an appropriate moisture measurement strategy once, recorded in the site file. Common industry practice is to use a moisture meter giving wood moisture equivalent (WME) or a surface hygrometer and treat readings below 12% WME as a typical acceptance threshold for fixing adhesives and many sealants; however, this is an indicative figure and you should follow the product datasheet and any project-specific limits set by the engineer or surveyor. For high-risk or unclear situations, delay installation and arrange intrusive investigation or drying measures. 2) DPM overlap: industry guidance commonly specifies a minimum 50mm overlap of the DPM beneath insulation layers to maintain a continuous barrier; treat 50mm here as a practical site minimum (verify against project specification and manufacturer's guidance). Ensure the DPM is sealed and tape/jointed into adjacent vapour control layers to avoid bridging. Both checks (moisture and DPM continuity) should be recorded together in the installation checklist.
If the slab routinely exceeds acceptable moisture levels, or the DPM cannot be reliably made continuous, do not install XPS directly against the slab edge without remediation: consider raising the insulation to a dry plane, replacing the DPM, installing a separate cavity drainage system or using a ventilated detail as appropriate.
How to install XPS boards around slab edges to prevent moisture and thermal bridging
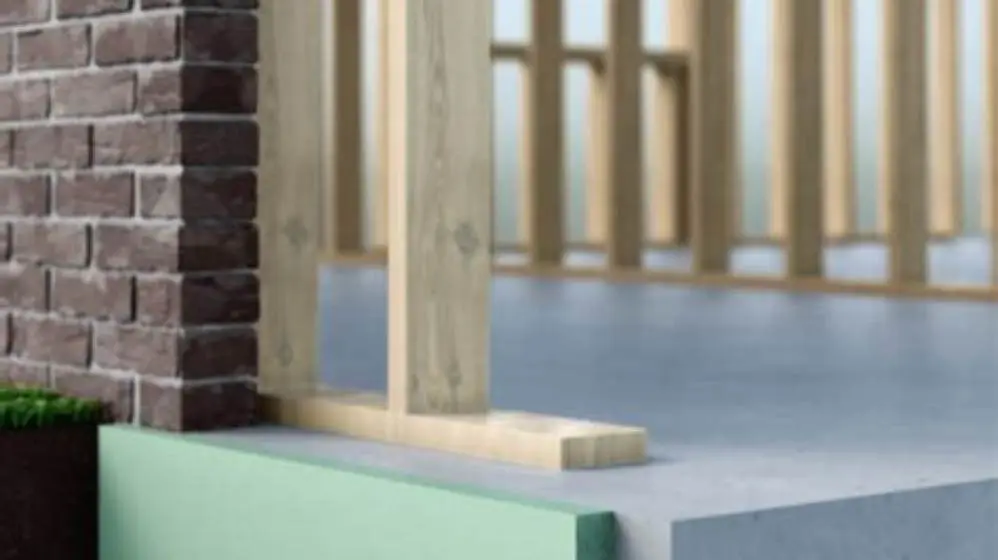
The objective is to achieve continuous insulation and uninterrupted damp proofing/vapour control at the slab edge. A typical installation sequence is: clean the slab edge, confirm DPM continuity and moisture acceptance, cut boards to fit, attach using compatible adhesive or fixings, tape/seal joints, and protect exposed edges during backfilling. It helps to understand r30 rockwool insulation before going further.
Adhesive selection: use solvent-free construction adhesives or cementitious adhesives specified for XPS. Check the adhesive manufacturer's datasheet for compatibility with XPS and the expected temperature range. For heavy-duty retrofit or where adhesive cannot achieve required bond (e.g., uneven surfaces), use mechanical fixings in combination with adhesive.
Tapes and sealants: choose tapes and sealants explicitly tested as compatible with XPS and the DPM material. Butyl rubber tape and modified-polymer (MS) tapes are commonly used because of their adhesion and flexibility; however, always confirm compatibility via product datasheets and, where possible, manufacturer compatibility charts. Apply tape over joints in a continuous run, pressing firmly to ensure adhesion and removing surface contaminants which might prevent a good seal.
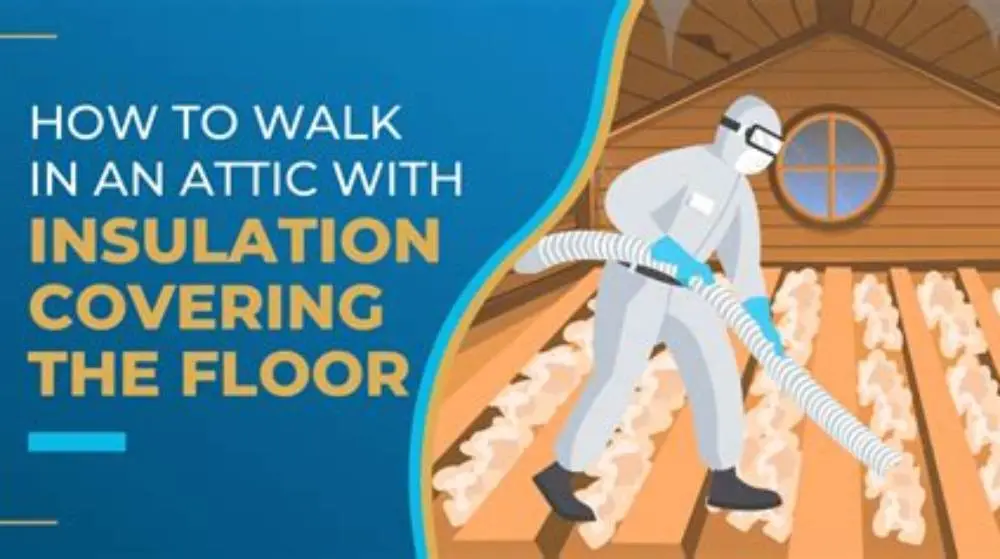
Mechanical fixings: use corrosion-resistant fixings rated for external or ground-contact conditions (stainless steel grades or hot-dip galvanised appropriate to the environment). Fixings should have suitable head sizes or washers to distribute load and avoid localised compression of XPS. Ensure all penetrations are sealed with a compatible flexible sealant. Before you commit to anything, it is worth looking at attic insulation you can walk on.
Edge protection and finishing: where the XPS is exposed to backfill or mechanical damage, protect it with a protection board, a drainage board or a sacrificial layer fixed over the XPS. At interfaces with walls, detail the XPS so it laps behind or over the wall insulation as required by the wall system to achieve thermal continuity.
Quality control: after installation, use visual inspection and, where required by the specification, thermographic imaging or tracer tests to check for gaps, cold spots or unsealed joints. Document all products used (batch numbers, datasheets) and keep manufacturer warranty information on file.
- 1. Record the single moisture/DPM assessment and confirm acceptable values.
- 2. Prepare and clean slab edge; remove loose material.
- 3. Cut and dry-fit XPS boards so they will provide continuous wrap at corners and interfaces.
- 4. Attach with compatible adhesive and/or fixings, per product guidance.
- 5. Tape and seal all vertical and horizontal joints; seal fixings penetrations.
- 6. Protect exposed edges during backfill and finish interfaces with wall insulation to maintain continuity.
Thermal performance expectations and how to treat published figures
Thermal conductivity for modern XPS products commonly quoted in manufacturer literature and referenced in BS EN 13164 is in the range 0.034–0.036 W/mK; this is a typical range and individual product datasheets should be used for design calculations. A 50mm board therefore gives an R-value in the order of 1.4–1.5 m²K/W in dry conditions (R = thickness / lambda). We cover insulation lifespan differences in its own article.
Published percentage reductions in 'slab edge heat loss' or reductions in linear thermal transmittance (Psi-values) are model-dependent. Industry sources (manufacturer modelling or finite-element studies) often present example Psi reductions for particular slab and wall geometries. Treat such figures as illustrative: they are helpful for comparative purposes but must be verified by project-specific thermal bridging calculations required under building regulations. Where a project requires a documented Psi-value, commission thermal bridging analysis (for example using two-dimensional finite-element software) using the actual slab geometry, materials and continuity details.
To be explicit about the earlier draft's numeric claims: statements such as 'thermal bridging causes up to 50% higher heat loss' or giving an exact reduction from 0.5 W/mK to 0.15 W/mK were presented without attribution and have therefore been replaced. You should expect that a properly detailed and continuous 50mm XPS wrap will reduce edge heat loss materially compared with an uninsulated edge, but the exact saving (percent or Psi reduction) depends on slab width, corner detail, continuity into the wall, ground conditions and workmanship. Use manufacturer data and/or a site-specific thermal bridge calculation for any regulated compliance or quoted savings.
If you need example numbers for early design, request manufacturer-prescribed U-values/Psi-values or use standard reference details in guidance documents (for example the BRE or NHBC guidance notes) and clearly note they are indicative. The other half of this decision is can insulation touch light fixture.
| Measure | Typical Value (indicative) | Notes |
|---|---|---|
| Thermal conductivity | 0.034–0.036 W/mK | Per BS EN 13164 manufacturer ranges; product datasheet required for design |
| R-value (50mm) | ≈1.4–1.5 m²K/W | Dry conditions; R = thickness/λ |
| Moisture absorption | Low (products vary) | Check product datasheet for short-term and long-term water absorption values |
| Psi-value reduction | Model-dependent | Calculate using 2D thermal bridge analysis for project-specific geometry |
Damaged or missing damp proof membrane: practical options before XPS installation
If the DPM is damaged or absent at the slab edge, do not install XPS directly over the defect. The following options explain practical remediation strategies; select the approach that suits the site, project budget and long-term durability requirements:
1) Local repair of DPM: where the DPM is accessible and damage is localised, repair by jointing new membrane to the existing DPM using compatible tapes and adhesives rated for the DPM material. Ensure laps are a minimum of 50mm (as per the guidance in this document) and joints are sealed to prevent capillary ingress.
2) Replace DPM at the edge: where the existing DPM is degraded or cannot be reliably lapped, expose the slab edge and install a new DPM layer that is continuous with adjacent vapour control layers. This often involves installing a new membrane under the XPS and sealing to wall DPCs. Follow BS 8102 and the DPM manufacturer's installation instructions for detailing.
3) Use an engineered alternative: if invasive replacement is impractical, consider installing a separating layer that allows drainage and ventilation (for example a vented cavity or drainage mat) to prevent the build-up of moisture behind the XPS, together with an internal condensation risk assessment to ensure the detail will perform. This is a specialist solution and should be designed by an engineer or experienced retrofit practitioner.
4) Raise the plane for fixing: in some retrofit scenarios it is acceptable to fix the XPS to a clean, dry vertical face that is above the damp risk (for example a newly formed upstand) rather than directly at the existing slab edge. This approach alters the thermal detail and must be assessed for compliance with thermal bridging rules.
Document the chosen remediation and retain photographic and product evidence before proceeding with insulation work.
Products, adhesives, tapes and fixings — standards and recommendations
Select products with published datasheets and stated compatibility with polystyrene-based insulation. Below are typical product types and the standards or references to consult:
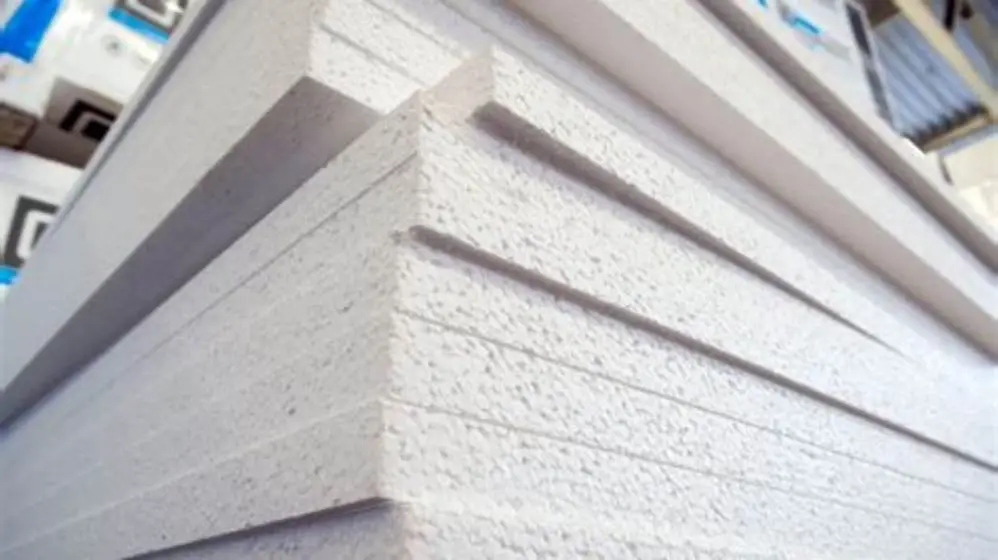
XPS standard: choose XPS products manufactured to BS EN 13164 (Specification for factory-made products of extruded polystyrene (XPS) foam) and use the product's declared thermal conductivity (lambda) values for calculations.
Adhesives: use solvent-free polyurethane or polymer-modified adhesives and contact adhesives that the board manufacturer approves. Confirm adhesive suitability by checking product datasheets for plastic compatibility and low VOCs; some adhesives include explicit statements of suitability for XPS on the manufacturer's technical guidance.
Tapes and sealants: use seals and tapes tested for adhesion to both the DPM and XPS. Butyl tapes and MS polymer tapes are commonly used; confirm the supplier provides chemical compatibility information. Sealants should remain flexible at expected site temperatures — check service temperature range on the datasheet.
Mechanical fixings: use corrosion-resistant fixings appropriate to the soil and moisture exposure. Stainless steel (e.g., 316 for aggressive environments) or suitably coated carbon steel fixings are common. Follow fixing manufacturer guidance for embedment length and washer size when attaching to concrete or masonry.
Regulatory and test standards to consult: BS EN 13164 (XPS product specification), BS 8102 (waterproofing of basements — for principles of DPM and damp control), EN 13501-1 (reaction to fire classification) and Approved Document B (England & Wales) or equivalent local fire safety guidance for combustibility and required barriers. For adhesives and tapes, consult the manufacturer's technical information and relevant EN standards listed on the product datasheets.
Specific product recommendation approach: do not rely on brand claims alone. Instead, request technical datasheets, third-party test certificates, and compatibility statements from suppliers. Keep records of these documents on-site for compliance and warranty purposes.
Integrating XPS with other insulation types and wall systems
Thermal continuity at interfaces (slab-to-wall, slab-to-floor, slab-to-foundation) is essential. The following approaches help ensure the XPS integrates properly with other insulation layers:
Lapping sequence: where slab-edge XPS meets wall insulation, ensure one material laps behind the other so there is no thermal gap. Typical practice is to continue the floor insulation around the slab edge and under or behind the wall insulation so the thermal path is interrupted. The precise sequencing depends on the wall build-up (masonry, timber frame, insulated cavity, external wall insulation).
Combined thickness: check that combined insulation layers do not interfere with wall ties, masonry support or damp proof courses. Adjust fixing positions or use slim-profile fixings where required, and re-specify wall ties if necessary when insulation thickness increases.
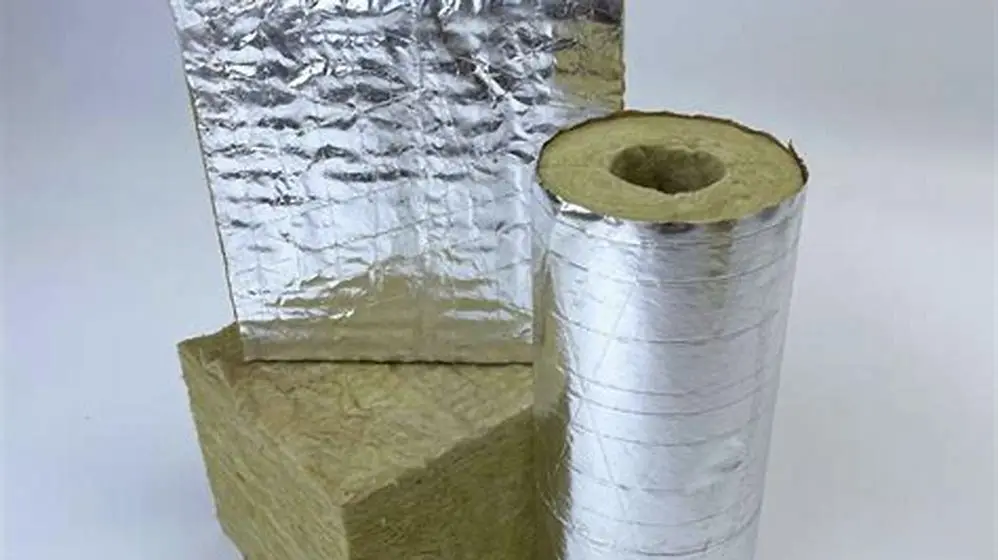
Material compatibility: when combining XPS with other insulants (EPS, PIR, mineral wool), check that adhesives and tapes are compatible with all materials and that the combined assembly meets fire safety and vapour control requirements.
Details for common wall systems: - Masonry cavity walls: extend slab-edge XPS to tie into the wall insulation or DPM so the cavity is not a cold path. - Timber frame: ensure the XPS does not trap moisture against timber; maintain a serviceable ventilated cavity or an appropriate vapour control layer as required by the timber-frame specification. - External wall insulation (EWI): lap slab-edge XPS behind the EWI render board/insulation termination detail or continue the EWI down to the slab edge where feasible.
Verification: for compliance with building regulations, include any altered junction in the building's thermal bridging calculations and show continuity on construction drawings.
Fire safety considerations for XPS at slab edges
XPS is a combustible organic foam; therefore, check applicable fire regulations and classification before use. Reaction-to-fire classifications are given to manufacturers in accordance with EN 13501-1. Many XPS products carry a Euroclass rating (commonly E or F depending on product and country tests), and some carry enhanced performance with fire retardants.
Regulatory guidance: consult the relevant national building regulations and guidance documents (for example Approved Document B in England & Wales) for permitted uses, required fire barriers and distances from unprotected combustible materials. Where XPS abuts a timber frame, wall linings or other combustible elements, provide suitable non-combustible barriers or intumescent protection as specified by the building regulations or the design fire strategy.
Detailing: where required, protect the exposed face of XPS with a non-combustible layer (e.g., cementitious board, mineral fibre protection strip, or masonry return) to meet the required fire separation or cavity barrier specifications. Keep records of product test evidence and any manufacturer notes on fire precautions.
Designer responsibility: the designer should confirm compliance with fire safety requirements for the completed assembly; this may affect choice of insulation thickness, the inclusion of fire-stopping at junctions, or additional protective layers.
Compatibility notes and typical limitations in UK homes
XPS is generally chemically stable and compatible with common construction materials (concrete, mortar, bituminous DPMs) but check adhesives and tapes for specific interactions before purchase. Where bitumen-based membranes are present, avoid solvent-based adhesives that can soften or degrade bitumen unless the adhesive manufacturer approves use.
Older homes built before modern DPM practice may lack continuous DPMs or have degraded membranes; these require additional remedial work before insulation. In such cases, consult a damp specialist or structural engineer for an appropriate repair strategy.
When planning retrofit works, coordinate with structural and drainage improvements (e.g., perimeter drainage, external ground falls) to minimise ongoing moisture risks that could otherwise compromise insulation performance.
50mm XPS is a practical choice for slab-edge insulation when the DPM is intact or properly remediated, products are chosen to match the site conditions, and junctions to walls and other insulations are carefully detailed.
Questions people still ask
Can I install 50mm XPS directly on a damp slab edge?
No. If the slab edge is damp or the DPM is damaged/missing, remediate the source of moisture or repair/replace the DPM (see the 'Damaged or missing damp proof membrane' section) before installing XPS. A single documented moisture assessment should be completed prior to installation.
How much overlap is needed between XPS and the slab edge damp proof membrane?
A 50mm DPM overlap is a commonly used site minimum and is included here as practical guidance. Verify the required overlap against project specifications and product manufacturer guidance.
Do I need thicker insulation than 50mm XPS to meet regulations?
Possibly. 50mm can improve slab-edge performance but whether it is sufficient depends on the overall assembly, location, and the project's thermal or EPC targets. Use manufacturer lambda values and, where needed, thermal bridge calculations to confirm compliance.
What tape or sealant should I use on XPS joints?
Use tapes and sealants that the XPS and DPM manufacturers list as compatible. Butyl and MS polymer tapes are commonly used, but always check datasheets and request compatibility statements from suppliers.
Are mechanical fixings or adhesives better for XPS at slab edges?
Either can be appropriate. Adhesives reduce penetrations but need a dry, sound surface and a compatible product. Mechanical fixings give strong retention in difficult conditions but must be corrosion-resistant and fully sealed at penetrations.